Do you ever run out of ways to promote your blog content? If so, then visual content may be the solution.
In this post, we’re going to look at the tools, ideas, and distribution channels you can use to gain additional exposure for your content through the use of images and video.
Let’s look at the type of visual content you can create for some of the more popular blog post types.
News Posts
Posts that cover the latest news, trending topics, and other timely updates will need to be promoted quickly to maximize the traffic. Let’s say you sell electronics and have a blog post on the latest updates to iOS 8. Your images will likely be of an iPhone running iOS 8 and screenshots of new apps, settings, and other features.
You can enhance your screenshots by uploading them to Canva or Share as Image and overlaying one of them with your post title. You can also overlay a few of them with specific section headers.
You may consider including a video where you talk about the latest features while demonstrating them on your iPhone. You don’t even need to have a camera for this—Mac users can utilize ScreenFlow to record their iPhone activity.
For topics where you cannot create an exact image representation, you can choose to go with word images created with Canva, Share as Image, or stock photography.

How To Posts
If you’re writing a how-to post about something on your computer, such as creating a Facebook page, you should try tools like Jing to screenshot the primary steps as images. You can use ScreenFlow or Camtasia to record an actual tutorial. You can then use Canva and Share as Image to overlay the images and iMovie to overlay the video.
For other how-to post types, consider including photos showing primary steps. For blog posts, your smartphone will capture good enough images. If applicable, you can use it to also capture video.
How-to posts also make great presentations, especially if you have strong images for each slide. You can even turn them into infographics using Piktochart by breaking the primary steps into easily consumable headings and bullet points.
Study Posts
When you write case studies or research posts with lots of data and statistics, you can create word images with different pieces of data using Canva or Share As Image. These word images can also be added to presentation slides for a presentation. For the video, you can use GoAnimate to have an animated character hold up signs with the key pieces of data.
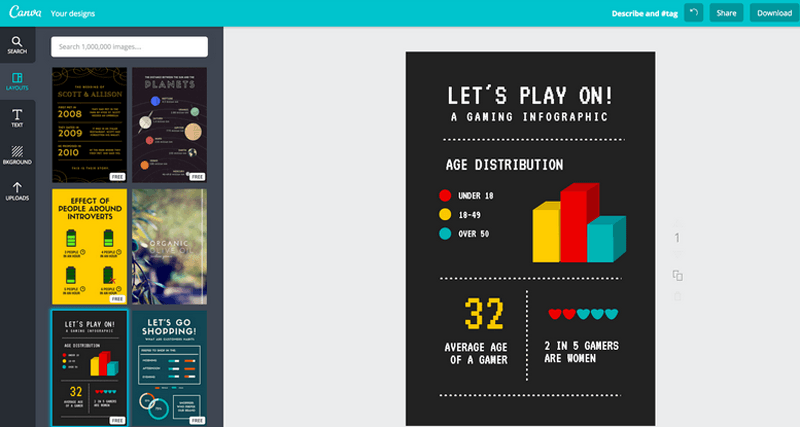
Data can also help you build great presentations and infographics. Look for templates in Piktochart that have heavy data, graphs, pie charts, etc. to help you visualize your data in an easily consumable image.
List Posts
If you can create one image or video for each of the items in your list, it will give many promotable pieces of visual content. For example, if you have a list of 50 great business books, create 50 images using a quote from each book. You will then have 50 images that people will love to help you share across social media.
Each point in a list post can also fit well in presentation format, and likely as an infographic, too. Look for templates in Piktochart that have simple blocks for each of your list items.

Interview Posts
When you interview one or more people for your blog posts, you can create visual content in the form of word images with quotes from each person interviewed. If your interview subjects are willing, you can record their interviews via Skype for video content. You can then take the images and key quotes from your interview subjects and turn them into slides for a presentation.
Visual Content Distribution Channels
Once you have images and videos, you will be able to promote them—and your blog posts—through the following distribution channels.
Images
- Share them on Facebook, Google+, LinkedIn, and Twitter
- Pin them on Pinterest
- Share them on Instagram
- Share them on Flickr
Videos
- Upload them to YouTube and Vimeo
- Upload them direct to Facebook
- Pin them on Pinterest
- Create 7 and 15-second teasers to share on Vine and Instagram
- Share them on Flickr
Presentations
- Upload them to SlideShare
- Convert them to video using authorStream
Infographics
- Submit to infographic blogs and directories
- Submit to related industry blogs
If you have multiple pieces of visual content for one blog posts, you can use them to spread out promotion of your blog content for as long as possible. For the list post example, if you had 50 images, you could schedule each one to publish one per week so that your post would be promoted almost all year.
You could also choose to distribute all of your visual content slowly by type. One week, you could promote the video. The next week, promote your images. Then the next, promote your infographic. And finally, the following week, promote your presentation.
Here is a great resource to learn how to promote content in less than 30 minutes.
Now that you know how to use visuals when creating content let’s take a look at some tools you need to create them.
Visual Content Tools & Resources
For non-designers need assistance with creating visual content, here are some great tools and resources to use that don’t require you to be a designer or professional video editor.
Canva
Canva is a free tool that allows non-designers to create images for a wide variety of uses, including blog content and social media. Simply find a template that fits your content and customize it to suit your needs. You will only have to pay if you choose to use template with a stock photo—many of the templates are free to use.
Share As Image
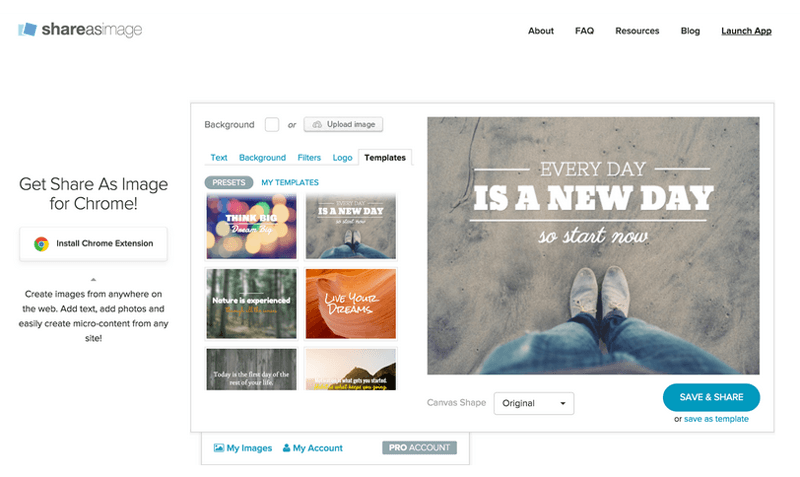
Share As Image is a freemium tool that allows non-designers to create great quote images easily from templates. There is a free plan for regular users and a plan for businesses that want additional features for $12 per month.
Piktochart
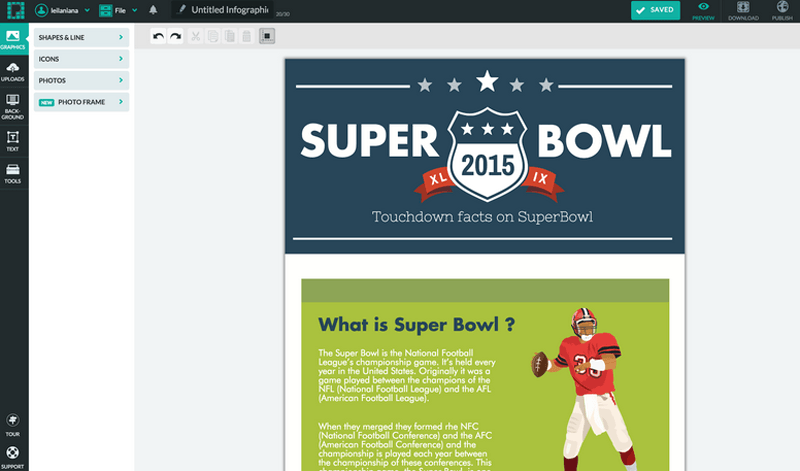
Piktochart is a tool that allows you to create infographics from predesigned templates through a drag and drop interface. Pricing for this tool is $29 per month.
Jing
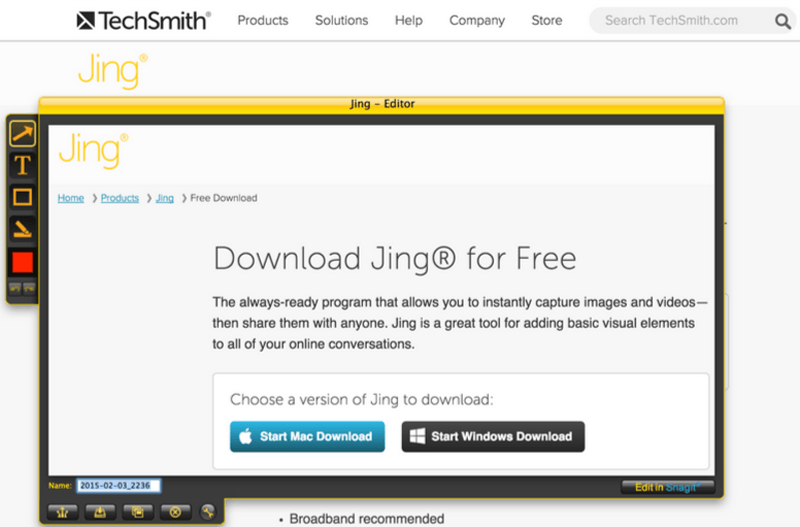
Jing is a free screen sharing tool that allows you to capture screenshots on Windows and Mac machines.
BigStockPhoto
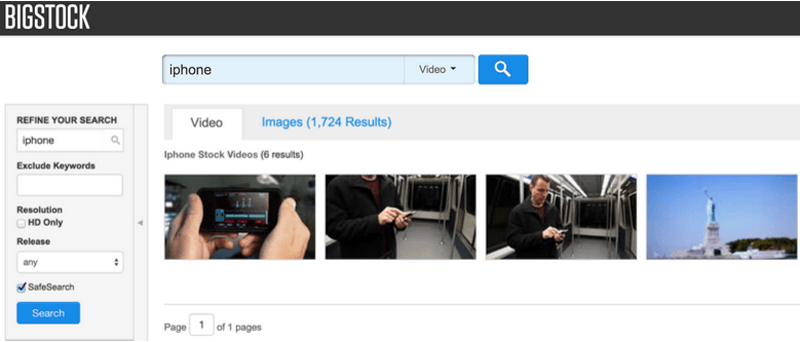
BigStockPhoto is a good source of both stock photography and stock videos, most of which can be edited to go with your blog content. All it takes is a simple overlay. You can add an overlay to stock photography with Canva and Share As Image, and stock videos can be edited using tools like iMovie.
ScreenFlow
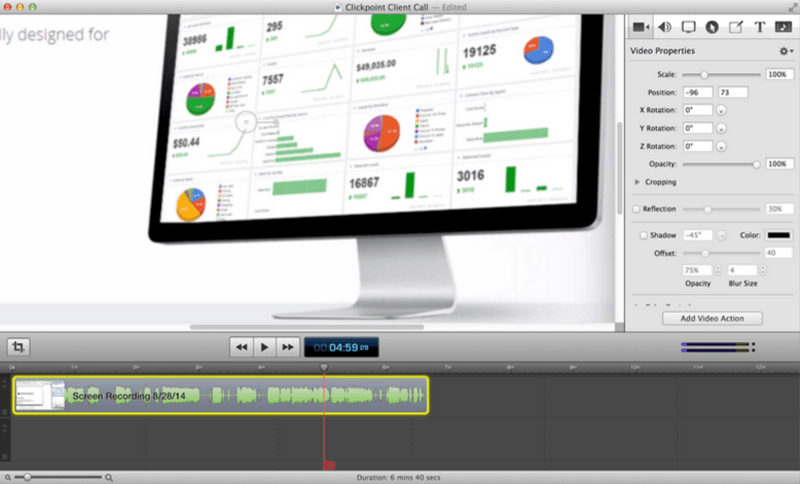
ScreenFlow is a tool for Mac users that allows them to record their desktops. Pricing for Screenflow is $99. Windows users can try Camtasia for $299.
GoAnimate
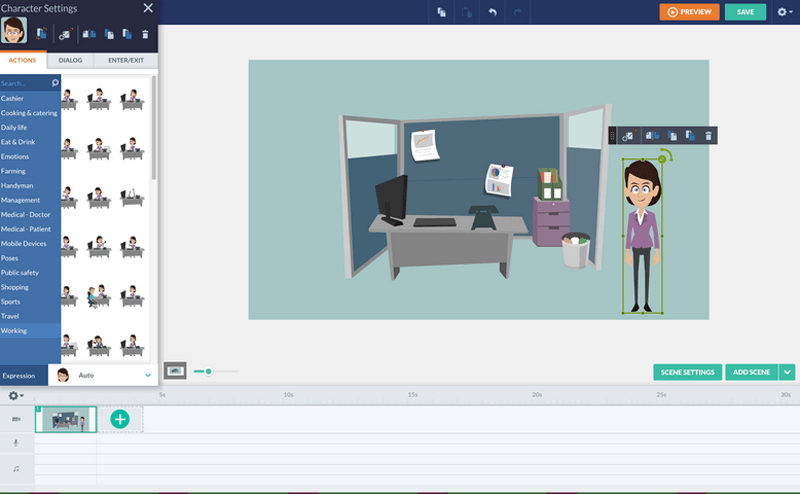
If you don’t want to get in front of the camera, but you do want videos, then GoAnimate is a great tool to use. It will help you create animated characters that you can use with voiceovers. If you don’t want to voiceover your own video, you can use services like VoiceBunny or outsource the work on sites like Fiverr.
Finally, make sure that every place you distribute your images, videos, presentations, and infographics, you include a link back to your blog post. It will help your blog post with both search engine rankings and direct referral traffic.