
The Cupertino giant’s thirteenth generation of the operating system (macOS Ventura) brings many essential improvements to the forefront. Despite all of the positives, it may periodically encounter bugs and troubles. The end users would find the failure of the Wi-Fi network to operate in a usual manner to be the most annoying of these problems. So, are you annoyed by the Wi-Fi issues on macOS Ventura?
Well, read on if you are pondering the question “how to solve the Wi-Fi problems of macOS Ventura?”. We’ll answer your question and guide you to resolve this problem once and for all.
So with that out of the way, let’s get started.
Ways To Solve The Wi-Fi Problems On macOS Ventura
1. Restart Your Wi-Fi Router

To update the basic network settings, you should think about restarting the Wi-Fi router. So, after turning it off, disconnect it from the socket. Then wait a moment before plugging it back in. Now select your Wi-Fi network and let your Mac connect to the network. Once the connection is established check whether the Wi-Fi is working or not.
2. Restart Your Mac

Before proceeding to more difficult fixes, just restart your Mac to check whether doing this improves Wi-Fi issues on macOS Ventura. It’s possible that your Mac reconnects to Wi-Fi after restarting. To restart your MacBook follow the steps below:
- The Apple logo is located in the top left corner. Click it to get started.
- Select “Restart” after that, and your MacBook will restart.
- After restarting your MacBook verify if the Wi-Fi is operational or not.
Read Also: How To Fix macOS Ventura Battery Drain
3. Alter The DNS Settings
A Domain Name Server would have been automatically given to your system by your ISP or Internet Service Provider. However, with time, the data may become get out-of-date, as a result, the internet browser may be unable to interpret the URL address to its corresponding IP Address.
In these situations, you can choose a third-party Domain Name System, like those offered by Google & Cloudflare. To do so follow the steps below:
- Navigate to the Apple Menu, and tap on “System Preferences.”
- Under system preferences click on “Network” and then tap on “Advanced.”
- Now click on “DNS.”
- Tap on the “-” sign to remove the existing DNS settings.
- Now on the “+” icon to add the new DNS settings. Type “8.8.8.8” and tap on the “OK” button.
- Close all windows. Check to see if it solves the Wi-Fi problem on macOS.

4. Reconfigure Network Configuration
Resetting the network configuration and returning it to its default settings is your best option if it has become corrupted. Here’s how to do it:
- Go to the “Finder” then select the “Go” option from the top left.
- Next, choose Go to Folder, and then type the following location:
“/Library/Preferences/SystemConfiguration/”

- Then, from it, pick out the files indicated below, and delete them one by one.
“.com.apple.airport.preferences.plist”
“.com.apple.network.identification.plist”
“.com.apple.network.eapolclient.configuration.plist”
“.com.apple.wifi.message-tracer.plist”
“NetworkInterfaces.plist”
“Preferences.plist”

- Restart your MacBook after finishing the process, and verify that the Wi-Fi is operational.
5. Reinstall macOS Ventura
If none of the above methods are successful, you are left with only one last option. Reinstall your macOS Ventura. To do so, follow the steps below:
- Start by turning off your MacBook. Next, turn it on.
- Hold down the “Command” key with the key “R” while it starts, and the Apple logo appears.
- Now release the keys. At this, Then “Reinstall macOS Ventura” from the list and press Continue.
- At this point, follow the on-screen prompts to reinstall the macOS.
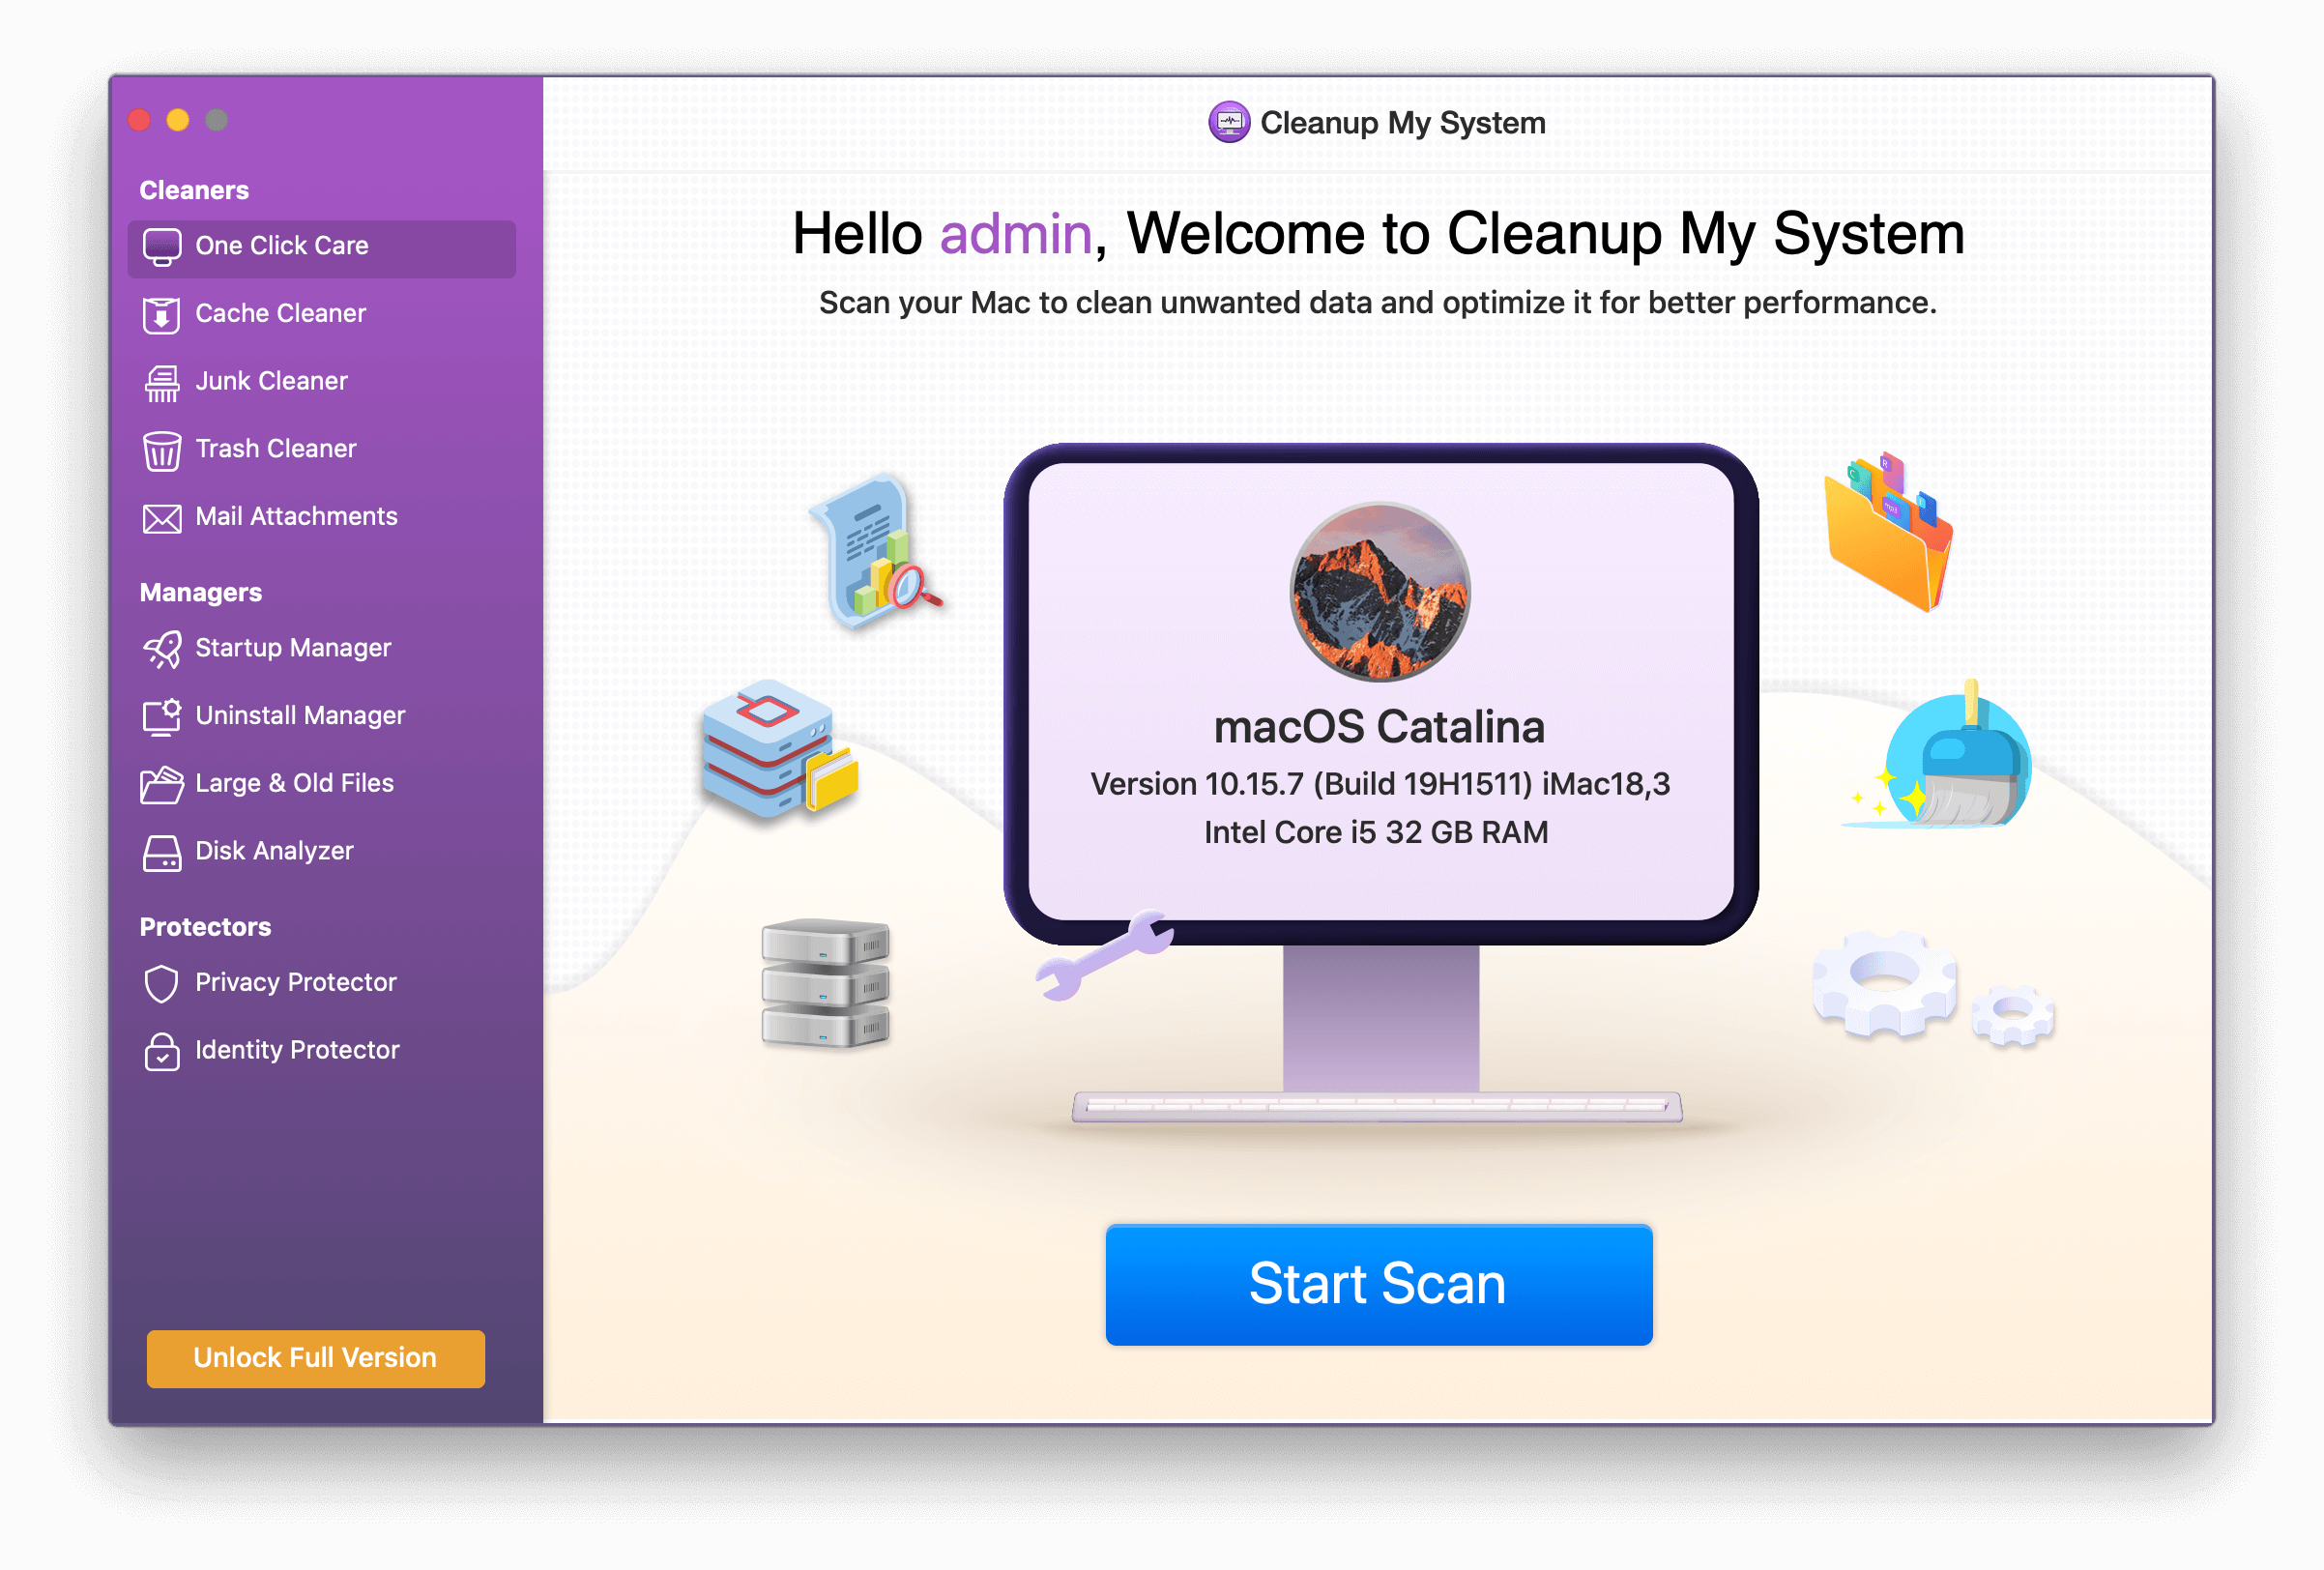
| Writer’s Tip: To keep your Mac optimized and minimize system conflicts such as this, you can consider using cleaning tools such as Cleanup My System. This tool can eliminate junk files, protect your identity, clear up big & old files, remove cache files, and uninstall unwanted apps to improve the overall productivity of your Mac.
Cleanup My System, a specialist system-tuning program, can improve MacBook’s speed and general performance with a few simple clicks. So what are you waiting for? Just click on button below to get this tool at your disposal with minimal cost. |

Cleanup My System Review- Spring Clean Your Mac In No Time
To Warp This Up
So, with these methods mentioned above, you can quickly solve the Wi-Fi problem on macOS. Go through these steps one by one, and tell us which method works for you. And if you seriously want to improve the overall performance & speed of your Mac and get rid of that sluggish Mac, do try Cleanup My System. And if you also know some methods to fix this Wi-Fi problem on macOS, then let us know in the comments below.


Leave a Reply