
For a while now, I have wanted to create t-shirts and other merch on Amazon. I’ve already chosen a niche and have even created some designs over the past year.
Since I’m creating my Merch by Amazon account today, I’m going to show you how to sign up for your own Merch by Amazon account as well.
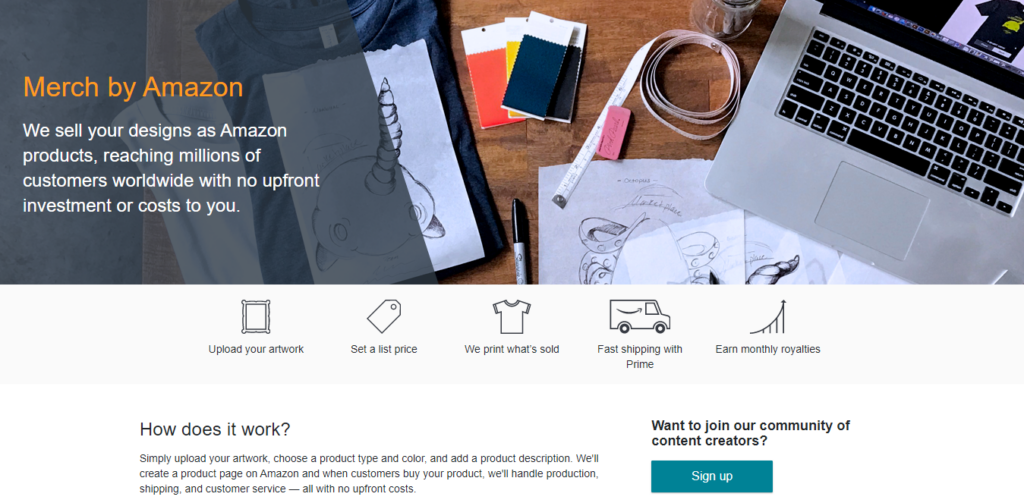
Real Quick, What is Merch by Amazon?
We sell your designs as Amazon [print-on-demand] products, reaching millions of customers worldwide with no upfront investment or costs to you. ~ Amazon
Some things to keep in mind:
-
I’ve been selling books on Amazon and have been an Amazon affiliate for a while, so some of your screens may look different. When I looked up how to create a Merch by Amazon account, no one that I came across’ Merch by Amazon landing page had the ‘Sign up’ button on it as mine did. They all had a ‘Request an Invitation’ button. So, if you have the invitation button be sure to click on that instead. (More on that in a few minutes.)
-
Many of the people whose tutorials I looked at, said that if you don’t fill your application out correctly, Amazon may deny your request. For that reason, you want to be sure that you follow the steps below carefully.
Are you ready? Let’s get started:
1. Go to Merch by Amazon’s website by clicking here.
2. Click on the blue ‘Sign up’ button. As I mentioned earlier, if you have the ‘Request an Invitation’ button, go ahead and click on that instead. Once you receive the invitation, you can complete the following steps.
3. This will bring you to the ‘Service Agreement’ page. Be sure to read it to the end and click on the blue ‘Accept’ button if you agree.

4. You will come to a page that says, ‘Sign up for a Merch by Amazon account’ thanking you for your interest and explaining what you will need to proceed:
-
Business contact information
-
Bank account and routing numbers
-
Social Security number or other tax identification number
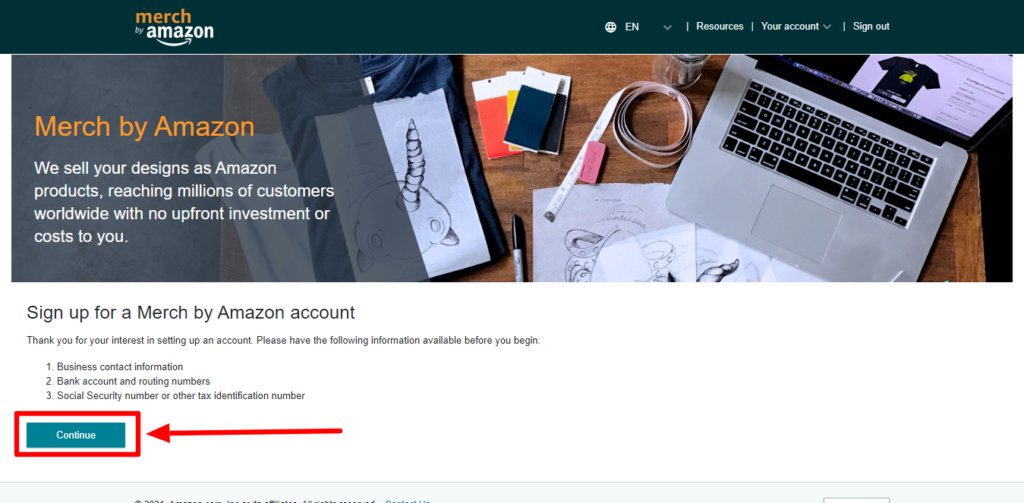
After you have prepared everything that you need, click on the ‘Continue’ button.
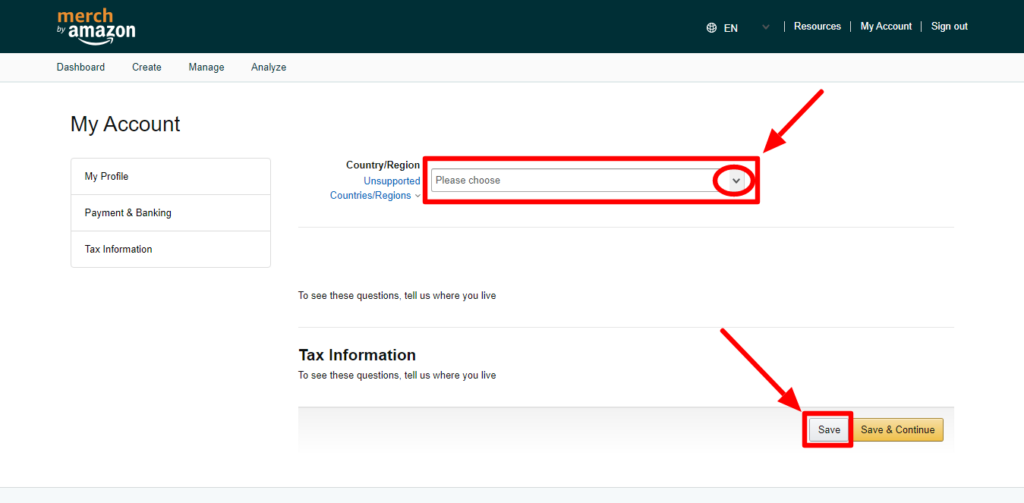
5. On the next screen, click on the dropdown arrow to select your country. Then, click on the ‘Save’ button to reveal the next questions.
6. Next, you will need to fill in the following questions:
-
Business Name
-
Address
-
City
-
State
-
Postal code
-
Phone
-
Business email address
-
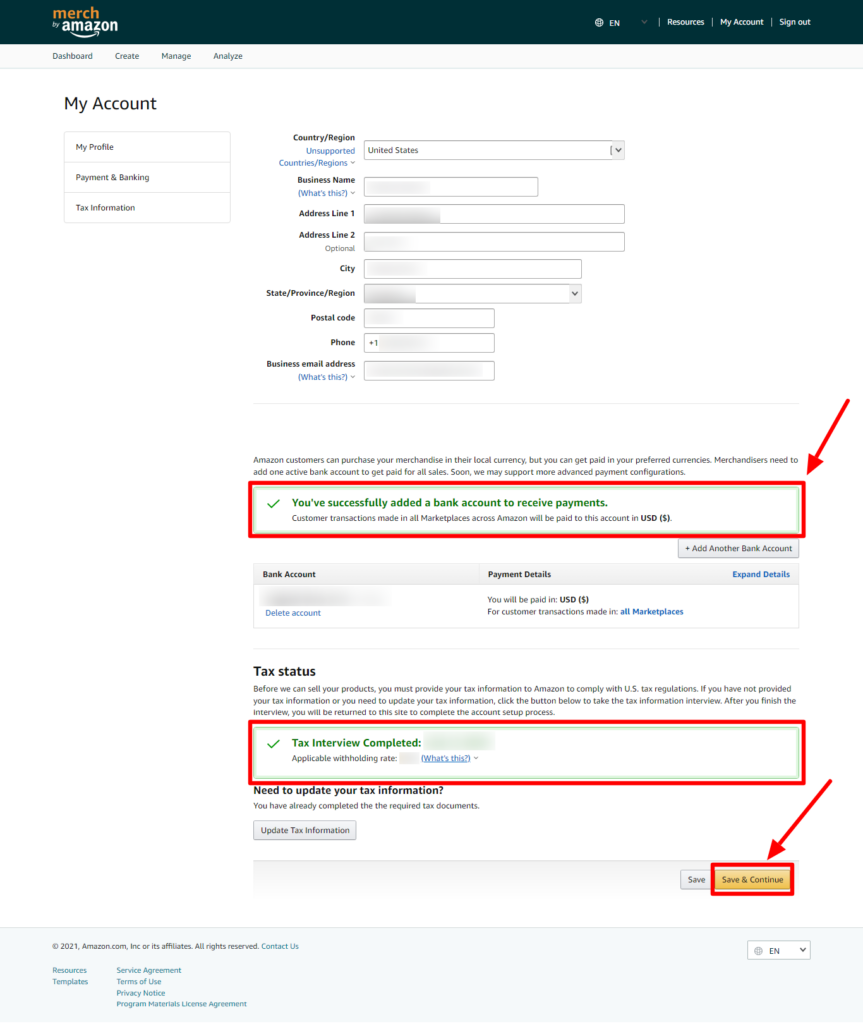
Bank information
After you’ve completed this information, click ‘Save’.
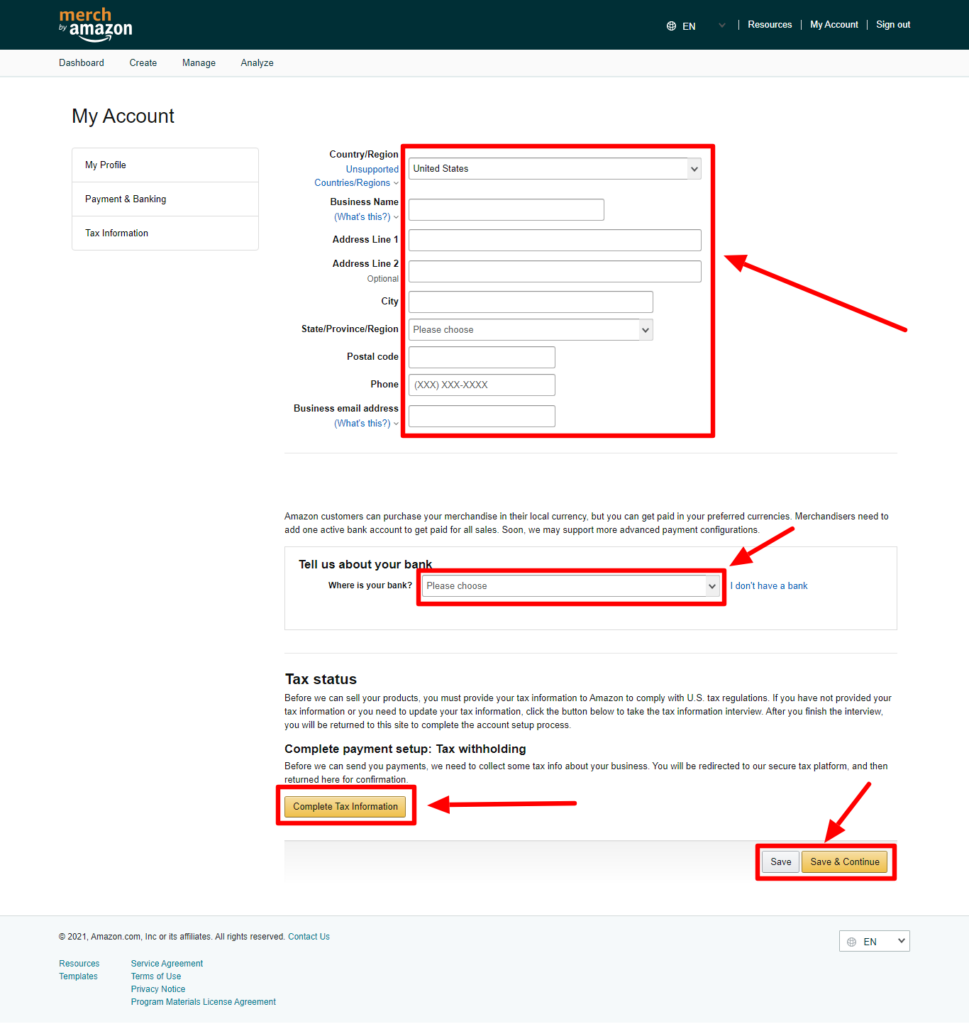
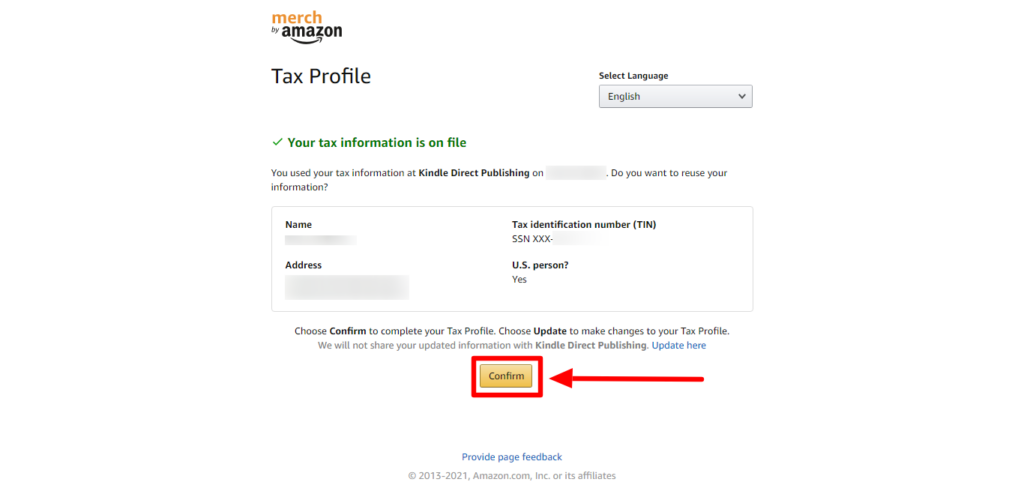
7. Then, click on the yellow ‘Complete Tax Information’ button. Fill out your tax information then click the ‘Confirm’ button.
8. When you see green check marks stating that you’ve successfully added your bank account and your tax interview is completed, click the ‘Save & Continue’ button.
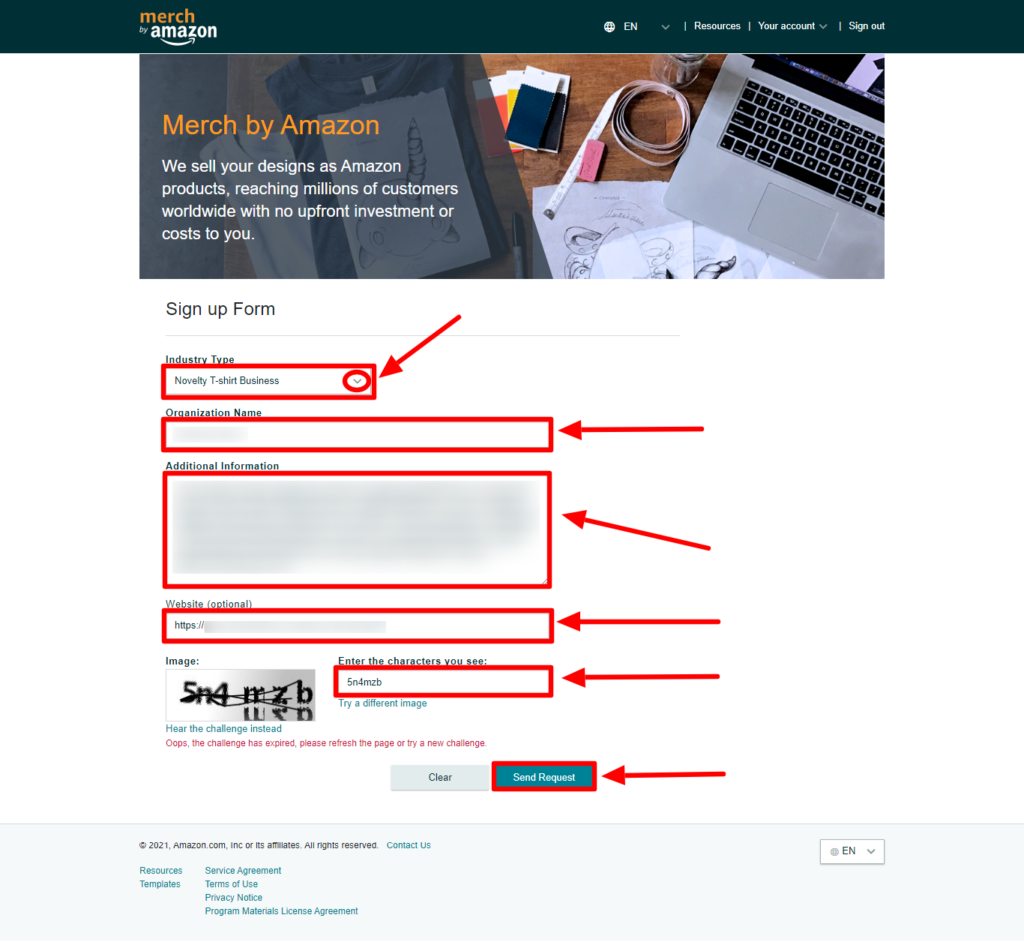
9. Here’s where you want to pay close attention. You should now be on the ‘Sign up Form’ where you will be asked to fill out:
-
Industry Type – here you will want to select Novelty T-shirt Business if like me that’s what you will be selling.
-
Organization Name – you can fill in your business name or your own name here. It will not be visible to anyone, but you and Amazon.
-
Additional Information – in this section, you should include your experience with online marketing and design skills. Include any eCommerce experience that you may have (Shopify, Spring, Redbubble, etc.) I mentioned the books that I already sell on Amazon, so be sure you do the same if you are a seller. You only have 512 characters, so make sure you only include the things most related to selling merchandise online.
-
Website (optional) – include any website or online property like a social media account where you may already sell related products. In one of the tutorials I saw, the person said they did not have a website and got approved. I found that interesting that she said she left it blank. Though it worked for her, I would definitely recommend you put something there if you can.
-
Enter the characters you see – you know the drill. LOL Enter what you see in the image to the left of this field.
When you are finished with all of this, click on the ‘Send Request’ button.
This will bring you to a ‘Your request was successfully submitted’ page where you will be told the average review time. Mine said 14 days. Being a newbie, I’m not sure if this is typical or if it will be different based on how many requests Amazon receives.

I was able to poke around in the Merch by Amazon dashboard by clicking on the ‘Review Policies’ button and the templates as they gave me that to do while I waited for approval. Again, you may see something different if you do not sell anything on Amazon yet.
That is it! I have to say, the process was really easy, so don’t be scured. You can do it, and if for some reason, you get denied, you can always reapply.
Author: Romona Foster
Romona Foster is the Social Media Trainer and Consultant at Social Media How To’s with Romona. Romona teaches small businesses and nonprofits how to use Facebook, LinkedIn, Twitter, Instagram, Google My Business — and the best practices of Email Marketing, Online Marketing, Affiliate Marketing, and Personal Branding. She is a featured contributor with Business2Community and is a Constant Contact Community blogger.