
Windows comes with an integrated antivirus called Windows Defender, that gives users an assurance that virus, malware and other threats won’t hit the system. However, Windows Defender works smoothly in defending the system and data keeping in the interest of its users, sometimes it can bother them. There have been instances when users have reported Windows Defender deleting files. You might wonder, when a certain file is not even a threat, why would Windows Defender delete it?
Although it’s not that common, Windows Defender sometimes mistakenly treats a program or file as a threat and would not allow you to install it in the first place. In more extreme circumstances, Windows Defender deleted files automatically without confirmation. Let’s learn how to stop Windows Defender from deleting files on Windows 11/10.
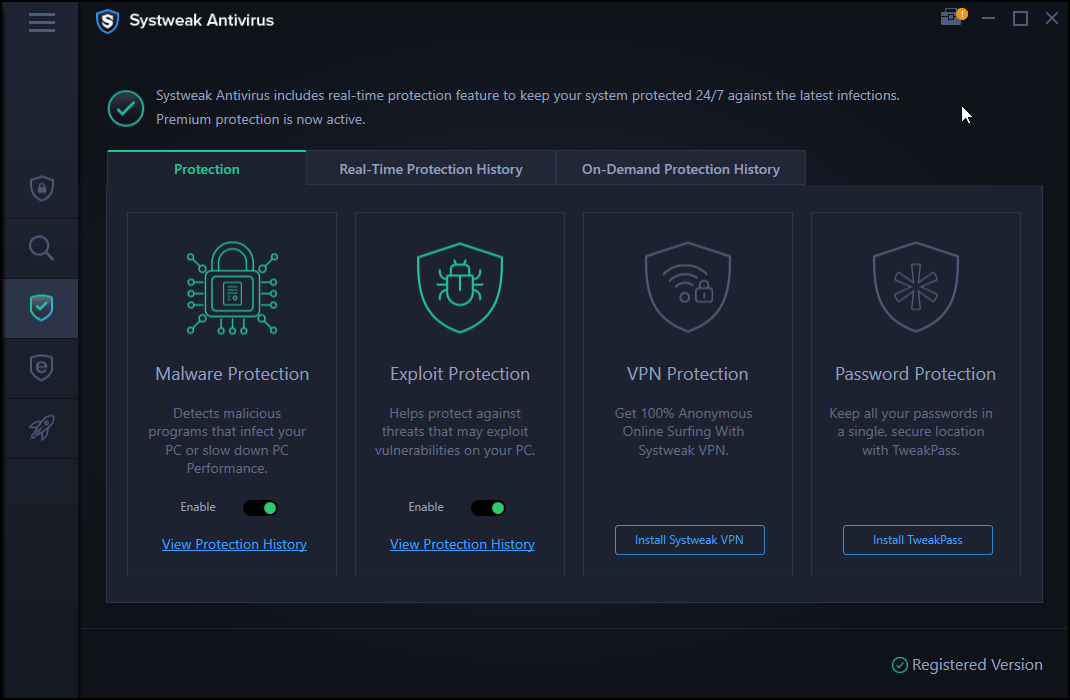
But, you must have another powerful antivirus in place so that even if you disable Windows Defender, you won’t have to jeopardize the security of your computer. One such Antivirus is Systweak Antivirus.
Also Read: Why Should Or Shouldn’t You Disable Windows Firewall?
| Systweak Antivirus – Features At A Glance |
|---|
| Offers total protection: against Malware and threats that arise when you run unknown files on your PC
Real-time protection: It constantly works in the background and removes a threat as it encounters
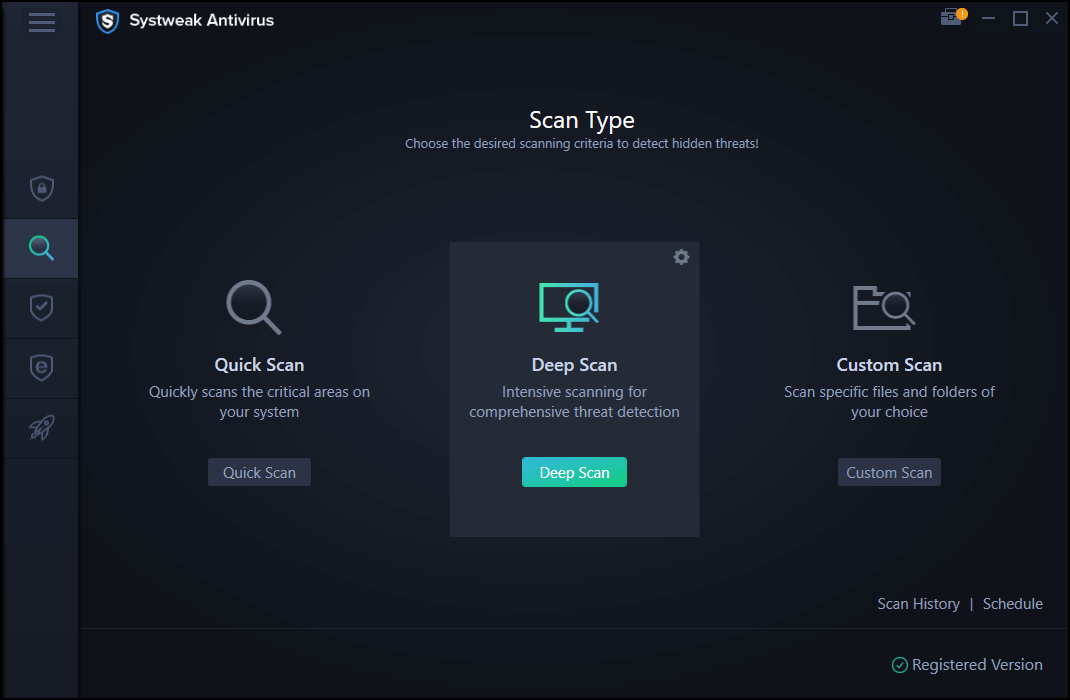
Multiple Scan Modes: comes with quick, deep and custom scans so that no area on your Windows 11/10 system is left untouched
Pricing:
Windows Version: 11/10/8.1/8/7 (32 bit and 64 bit) Trial Version: 30 Days Download Systweak Antivirus |


Here Are Ways To Stop Windows Defender From Deleting Files
1. Add Exclusion

If you come across a situation where Windows Defender deletes files without your prior knowledge or intimation, you can add files to exclusion –
1. Press Windows + I keys and open Settings
2. Click on Update & Security
3. Go to Windows Security
4. Click on Virus & Threat protection
5. Select Manage Settings
6. Under Exclusions, click on Add or remove exclusion
7. Click on the + sign which says Add an exclusion
8. Select File, Folder, File Type or Process
2. Restore Quarantined Items
If Windows Defender has deleted files on your computer, worry not. With these steps, you can even restore quarantined threats. The steps mentioned below are quite similar to the ones mentioned above –
1. Follow the steps 1-4 as mentioned above
2. Under Virus and Threat Protection click on Threat History
3. Click on See full history under Quarantined threats
4. See the items in the list and select the item that you want to restore click on Restore
If you are unable to find the quarantined items, here’s what you can do –
1. In Virus & Threat Protection click on Scan options under Current Threats

2. You will be able to find all your removed files under Quarantined Threats
3. Now you should be able to restore them
3. Change Storage Sense Settings
Storage Sense is a useful feature which can automatically delete files on your computer to free up disk space. If you change the settings for it, your computer can no longer automatically remove files. To do so, you need to follow these simple steps –
- Go to Settings >Storage.
- Click on the Configure Storage Sense or run it now.
- Here you can see the Storage Sense window. Now turn it off by using the toggle switch.

4. Disable Windows Defender
One way to stop Windows Defender from deleting files is by disabling it altogether. Now, there are more than one ways of disabling Windows Defender. Here we will talk about how to stop Windows Security from deleting files in two such ways –
(i) Through Settings
1. Press Windows + I and open Settings
2. Click on Update & Security
3. From the left hand pane click on Windows Security
4. Click on Virus & Threat protection
5. Under Virus & threat protection settings, click on Manage settings

6. Toggle the Real-time protection switch to the left side to turn it OFF
(ii) Through Registry

Before heading on with this step, pay special caution as a wrong move can render your machine unusable. Also, make sure that you take a backup of your registries before moving forward with this step. You can go through this blog and learn how to take a backup of registries the right way. Once through with that, follow the steps mentioned below to disable Windows Defender with the help of Registry Editor –
1. Open the Run dialog box by pressing Windows + R keys
2. Type regedit and press Enter
3. Click on Yes when User Account Control prompt appears
4. When the Registry Editor window opens navigate to the below mentioned path –
HKEY_LOCAL_MACHINE > SOFTWARE > Policies > Microsoft > Windows Defender
5. Right-click on Microsoft Defender and click on New
6. Click on DWORD (32-bit) Value
7. A new file will appear. Rename it as Disable Antivirus and hit enter
8. Double click on this file and enter the Value data as 1 and press OK
9. Restart your computer
Note: Disabling Windows Defender using Registry Editor would disable it permanently.
Conclusion
The credibility of Windows Defender cannot be questioned. It is indeed a powerful Antivirus on its own, however, if you find that it is deleting files without your confirmation or is behaving in an unruly manner, you can disable it or use workarounds as mentioned above. But, do keep an antivirus like Systweak Antivirus aboard so that your Windows 10 computer or laptop does not fall prey to any threats.
For more such content keep reading Tweak Library. You can also find us on Facebook, Twitter, Instagram, Pinterest and Flipboard. You can also subscribe to our YouTube Channel.
Quick Reaction:
7 replies on “How To Stop Windows Defender From Deleting Files on Windows 11/10?”


Akshita
I toke experience losing files without any notice. I hope these workarounds helps! Thanks for suggest Systweak Antivirus.