
One of the best things about Windows 10 is that it comes with Windows Defender out of the box. It is an Antivirus program which helps keep spyware, viruses, ransomware and other types of malware at bay. And, Microsoft Windows Defender offers real-time protection against all kinds of malware. Which means it periodically monitors and scans the files on your computer for malware. But, can you scan files with Windows defender manually?
Yes, there are times when you don’t want the complete system to be scanned, instead you only want a file or folder that you suspect to be scanned. So, if need be here’s how you can conduct a manual Windows defender scan on the file and folder of your choice.
And, we are not talking about just one way but three of them, so read on –
| Table Of Contents |
|---|
| 1. Using The File Explorer 2. Using The PowerShell To Conduct Windows Defender Scan 3. Using The Command Prompt To Scan Files With Windows Defender |
1. Using The File Explorer

In case you think that a file or folder in your file explorer could be infected, you can use the steps mentioned below and conduct a Windows Defender scan on those files and folders –
- Open File Explorer by either clicking on the File Explorer icon on the taskbar or by pressing Windows + E keys
- Go to the location where your suspected file or folder is present
- Now you can either select one item or select multiple items
- Right-click on the selection and select Scan with Microsoft Defender
You will then be taken to Scan options where you will be able to see if there are any impending threats and the action you need to take.
2. Using The PowerShell To Conduct Windows Defender Scan

Using the File Explorer is not the only way to check individual files or folders using Microsoft Windows Defender. You can even scan a complete folder or individual files using the PowerShell. Here are the steps to do the same –
- In the Windows search bar type powershell
- Click on Run as administrator from the right-hand pane
- When the User Account Prompt appears click on Yes
- Type the below mentioned command when the PowerShell window opens
Start-MpScan -ScanType CustomScan -ScanPath "C:\PATH\TO\FOLDER"
Note: Replace the C:\PATH\TO\FOLDER with your desired folder location which you can find in the address bar of the File Explorer.
- Press Enter
- In case it is an individual file, type the below mentioned command
Start-MpScan -ScanType CustomScan -ScanPath “C:\PATH\TO\FOLDER\FILE.TXT”
Note: Again replace the C:\PATH\TO\FOLDER\FILE.TXT with the path of your file which you can find in the address bar of the File Explorer.
After you have used these steps, Microsoft Defender will only scan the file or folder you desire
3. Using The Command Prompt To Scan Files With Windows Defender

Another way of using the Microsoft Windows Defender scan for checking individual files and folders for viruses and malware is the Command Prompt, the steps for which are mentioned below –
- In the Windows search bar type cmd
- From the right-hand pane click on Run as administrator
- When the Command Prompt opens, first, type this command
cd c:\ProgramData\Microsoft\Windows Defender\Platform
- Press Enter
- Type dir and then Enter to reach the latest antivirus command tool
- In my case it is 4.18.2010.7-0. You might have a different version
- Press Enter
- For scanning a specific folder type the below mentioned command and press enter
mpcmdrun -Scan -ScanType 3 -File "C:\PATH\TO\FOLDER"
Note: Replace "C:\PATH\TO\FOLDER" with your desired folder path
- For scanning a specific file type the below mentioned command and press enter
mpcmdrun -Scan -ScanType 3 -File "C:\PATH\TO\FILE.TXT"
Note: Replace "C:\PATH\TO\FILE.TXT" with the path of the file you want to scan
If Not Microsoft Windows Defender, Then What?
If you have decided to disable Windows Defender and instead test some other Antivirus tool to cement your Windows 10’s security, let us tell you that there are some great Antivirus programs out there. So, it goes without saying that there is no dearth of Antivirus programs. Having said that, if you are still confused, we recommend trying Systweak Antivirus.
Why Choose Systweak Antivirus?

- It constantly works in the background and deals with malware in real-time
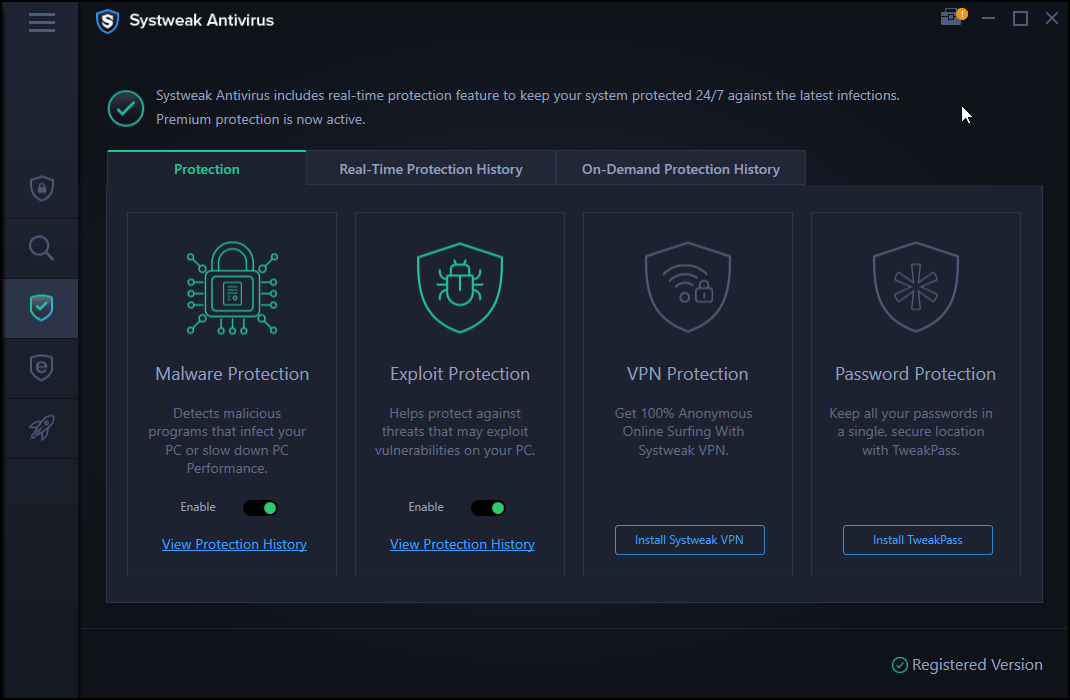
- Apart from real-time protection it also offers on-demand protection and malware and exploit protection as well
- It comes with three scan modes –
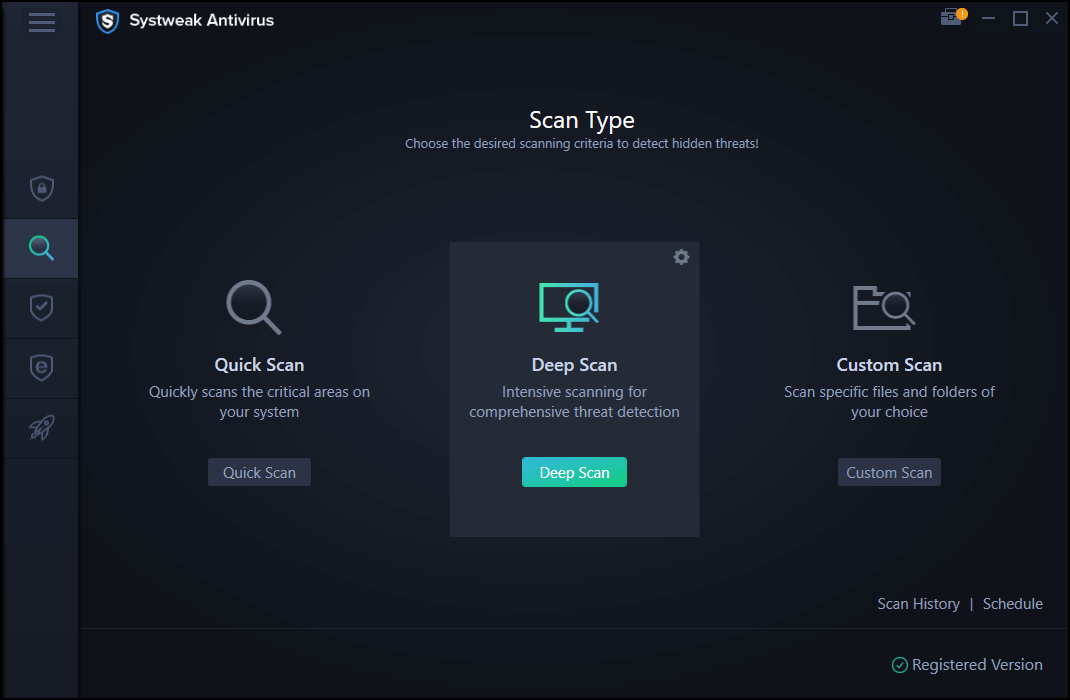
Quick – most vulnerable areas are scanned
Deep – entire computer or laptop is scanned for viruses
Custom – you can select the folder or drive for viruses
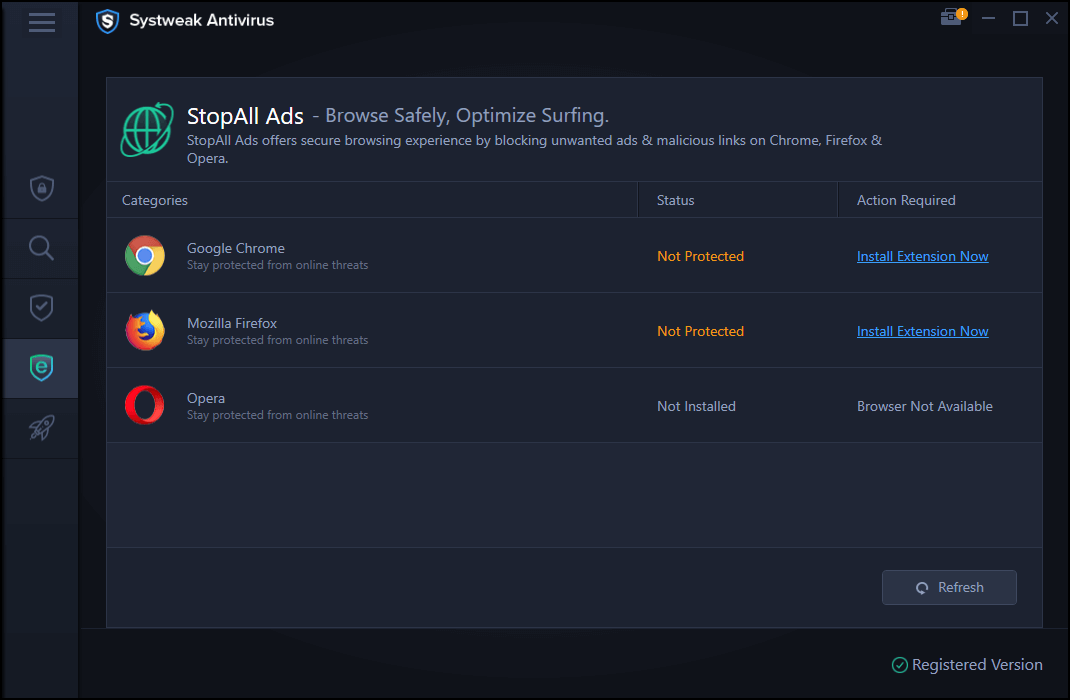
- Comes packed with StopAll Ads feature which blocks malicious and unnecessary ads and enhances your browsing experience
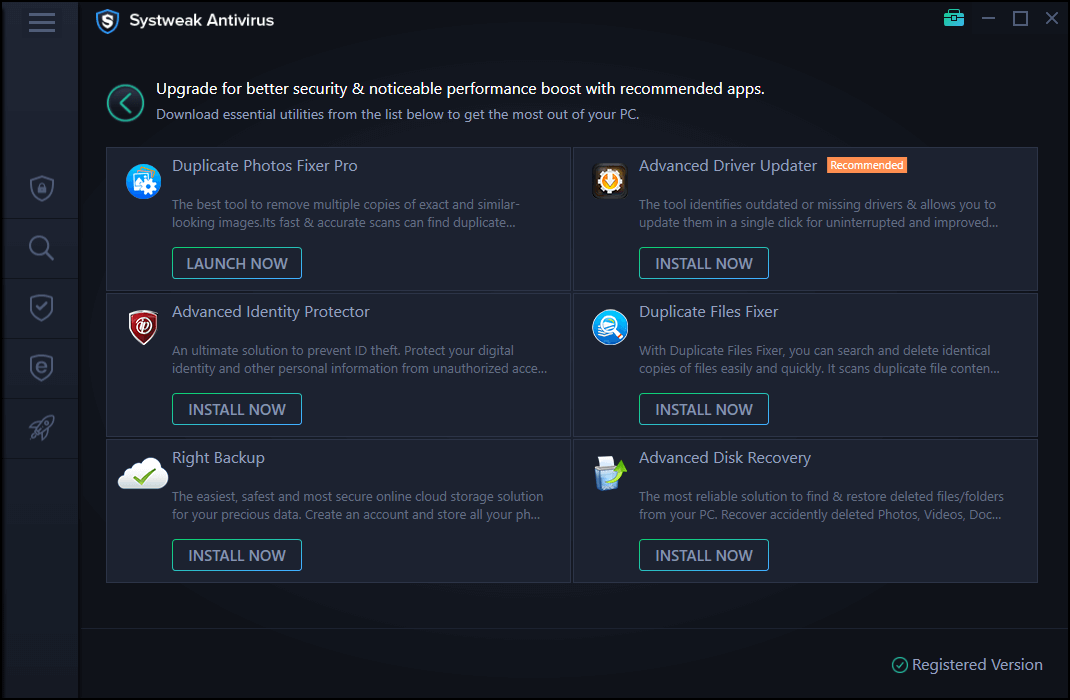
- Suggests host of useful apps which can help you optimize your computer
Price: $ 35.50
Windows Version Supported: 10/8.1/8/7
Click Here To Download Systweak Antivirus

Also Read: Here’s an indepth review of Systweak Antivirus.
Conclusion
So as you can see that there is not just one but three ways to scan files and folders using Microsoft Windows Defender and we have also mentioned an easier and an effective way through which you can effortlessly get rid of Malware and several other kinds of viruses. For more such content keep reading Tweak Library. You can also find us on Facebook, Twitter, Instagram, Pinterest and Flipboard. You can also subscribe to our YouTube Channel.
Next Read
McAfee Total Protection: The Best Antivirus in 2020


Leave a Reply