
Windows 10, despite being a great operating system can have its share of issues. One such issue is Dism.exe error 1392 which occurs when a directory or temporary file/ files are unreadable or corrupted.
What Happens If DISM Scan Fails With Error 1392? What Dangers Can Come Your Way
If an action is taken at the right time, you will be able to resolve the issue without any noticeable damages. But, if the issue is not paid heed to, the broken, corrupt or missing system files can lead to loss of data, hardware failure, system freezes or even system crashes. You might even have to deal with a slow PC. And, if the issue has arisen because of a malware or virus, you must take action fast otherwise, you would risk not just your computer’s functionality but even its security.
Ward Off Dism.exe Error 1392 Easily With These Methods
In case you encounter a situation where DISM scan fails with error 1392, here are some ways you can resolve this issue.
| Table Of Contents |
|---|
| 1. One Stop Solution
2. SFC SCANNOW |
1. One-Stop Solution
The aforementioned issue Dism.exe error 1392 can occur because of junk files, disk errors and malware. We have mentioned manual steps to deal with each of these errors but how about you use a tool which dedicatedly helps you resolve such issues, without you even have to lift a finger. Advanced System Optimizer is one such tool which helps you clean and optimize your Windows 10 PC or laptop for best performance. Here’s a detailed review of this magnificent Windows 10 cleaning and optimization tool – Advanced System Optimizer.
(i) Clean Junk
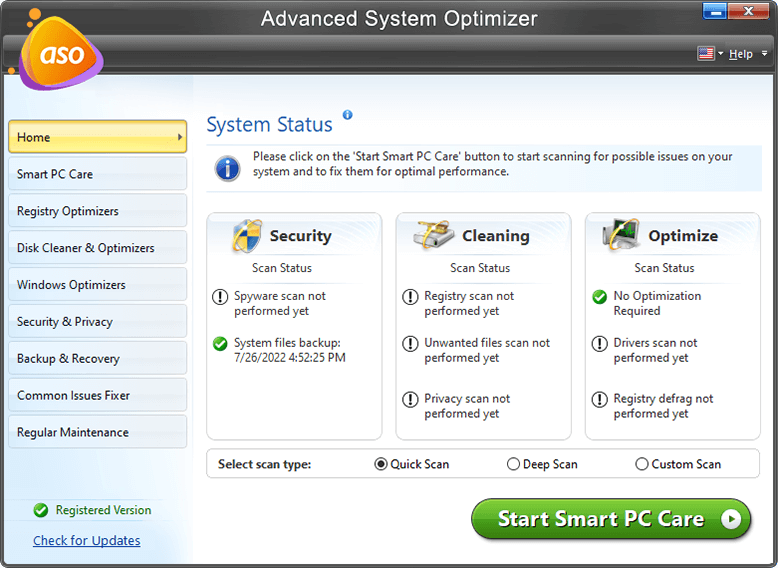
1. Download and install Advanced System Optimizer

2. From the left hand pane click on Smart PC Care
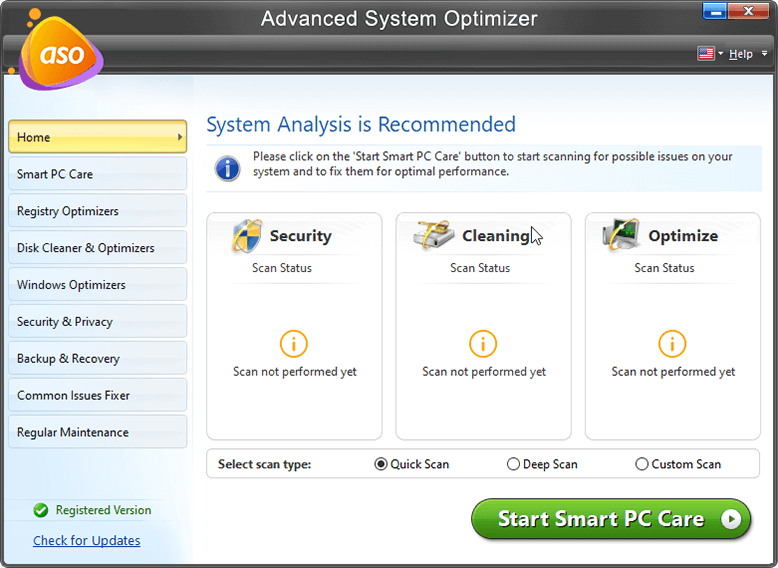
3. Click on Start Scan
(ii) Remove Disk Errors
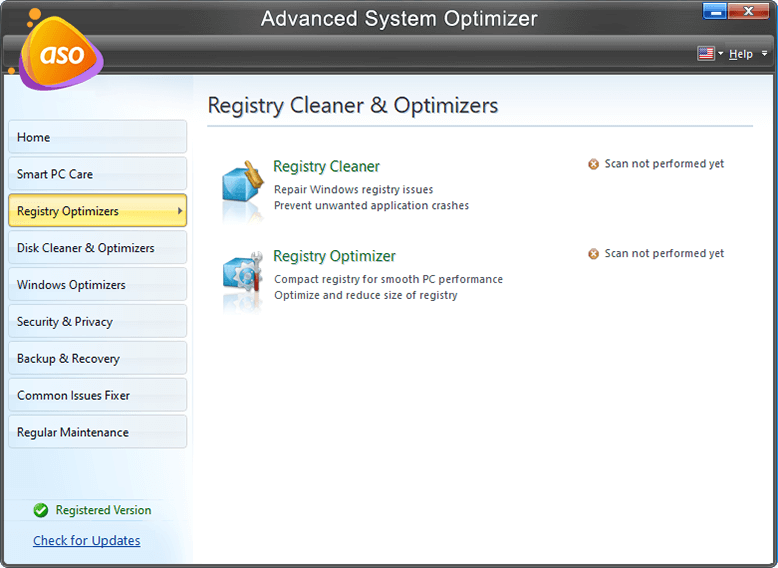
1. Download and install Advanced System Optimizer
2. From the left hand pane click on Disk Cleaners & Optimizers
3. Click on Disk Tools
4. Select Drive/s and then click on Start Scan Now
(iii) Check System For Malware
1. Download and install Advanced System Optimizer
2. From the left hand pane click on Security & Privacy
3. Click on System Protector
2. SFC SCANNOW

SFC stands for System File Checker. The error “DISM Scan fails with error 1392” could have appeared because of corrupted system files for which you can use the Windows 10 command-in-line tool sfc /scannow option. Here’s how that can be done –
1. Type CMD in Windows search bar
2. Click on Run as administrator
3. When the Command Prompt window opens type
sfc /scannow
4. Press Enter
3. Perform A System Restore
As the name suggests System Restore helps restore Windows 10 to a point when it was working correctly and when there were no errors. This solution may help you resolve the issue. If you want to learn how to configure System Restore on your Windows 10 PC or laptop, you can head to this blog and then come back here. Now, that you have configured System Restore, here’s how you can revert to previous point when your computer was working fine –
1. Type System Restore in Windows search bar
2. From the right hand pane under Create Restore Point click on Open
3. Under System Restore click on the System Restore button

4. Click on Next
5. Select a restore point and again click on Next

6. Click on Finish
4. For Once Disable The Third Party Antivirus
Although not advisable you can try disabling the third-party antivirus software installed on your PC. Many users have reported that they were able to resolve the issue “DISM Scan Fails with Error 1392”. Here are the steps to disable the antivirus program on your computer –
1. On your taskbar right-click on the antivirus software icon
2. Select disable
3. Alternatively, you might have to fire up the antivirus software in order to disable it
Note: The process to disable third party Antivirus software may differ from one Antivirus to another. For instance, to turn off Bitdefender’s security

4. Right-click on the bitdefender icon present in the notification tray and choose show or double click to open the bitdefender antivirus on the desktop.
5. Go to the privacy tab and toggle all the different types of protection on or off.
6. You will now be able to turn Bitdefender Antivirus protection on and off easily.
5. Run Check Disk In The Command Prompt
The chkdsk utility is to scan the integrity of the file system on a disk (FAT32, FAT16 and NTFS). It examines disks for any errors and is even capable of resolving errors. It is used to resolve issues such as fixing 100% disk usage errors and it might even prove to be effective in resolving Dism.exe error 1392 as well. To run this command, follow the steps mentioned below –
1. In the Windows search bar type cmd
2. From the right-hand pane choose Run as administrator
3. When Command Prompt window opens type
chkdsk /f h:
4. Press enter. In the above ‘h’ denotes the drive with disk.exe error 1392
5. The step doesn’t end here. Now, in this next step we’ll repair the problem. For this, type
Chkdsk /f C: . Only after this command is run, Check Disk will analyze the disk and repair any errors
Conclusion
The above steps should hopefully be able to help you resolve Dism.exe error 1392. For more such content keep reading Tweak Library. You can also find us on Facebook, Twitter, Instagram, Pinterest and Flipboard. You can also subscribe to our YouTube Channel.


Leave a Reply