
| Blog Summary: The post explains that a “Read-only” file system permission is an annoying error that prevents users from making changes to files and folders stored on the drive. Discover the top 6 methods to resolve this issue on Windows 11/10 PC, along with bonus solutions for fixing it on an SD card or USB flash drive. Keep reading for more information! |
When you encounter the “The Drive is read-only” problem, it prevents you from making any changes to the files and folders stored on the drive. The issue typically appears due to file system corruption, write protection being enabled, physical write protection, hardware failure or virus infection.
However, there are times when you may need to alter the read-only file system permission on a drive. One of the easiest and most convenient ways to fix the “Read-only” problem is by changing the file system permission. The steps for which are discussed below in detail.

If that doesn’t work, you’re not alone! Many users are sharing their problems on Reddit and Quora forums. If you’re one of them, your search for an effective fix ends here!
But before that, don’t miss out on our previous guide covering the Best Hard Drive Recovery Software for Windows 11/10 PC, providing comprehensive data recovery options.
Can’t Write to Your Drive? Don’t Panic! Here’s How to Fix It In 2024
We understand that being unable to make changes to any of the contents on your Drive can be a frustrating experience. That’s why we’ve put together a list of solutions that we believe will help you fix the problem.
1. Change Permissions In Properties
After going through the above steps, you know which of your hard drives is read-only, right? Here are a set of simple steps with the help of which you will be able to change your hard drive’s read-only status –
1. Go to This PC
2. Right-click on the drive that is locked and is showing as read-only
3. Click on Properties
4. Click on the Security tab
5. Locate the option that says To change permissions, click Edit, and click Edit next to it

6. Scroll down and check the Write checkbox
7. Click on Apply and then on OK
After going through the above steps, you know which of your hard drives is read-only, right? Here are a set of simple steps with the help of which you will be able to change your hard drive’s read-only status
2. Run CHKDSK
If you encounter a read-only status on one of your disk drives, it is essential to address any underlying errors promptly to prevent further damage. One commonly used command, CHKDSK, can quickly identify these errors. Follow these steps to use CHKDSK:
1. Type CMD in the search bar.

2. Right-click on “Command Prompt” from the right-hand pane and select “Run as administrator.”
3. In the Command Prompt window, type “chkdsk g: /f /r /x” (replace “g:” with the appropriate drive letter).

4. Wait for the process to complete.
If any errors are detected on your drives, they will be listed. You can then use one of the methods described in the post to resolve these errors. Once resolved, check the drive status again.
3. DiskPart is The Way To Go
Oftentimes when drives are locked and all you see is the read-only state flashing, DiskPart can be your ultimate life savior. Here are the steps for using DiskPart –
1. Right-click on the Start button and click on Disk Management

2. Locate the Drive which is read-only. Here’s how you can find if a drive is read-only. Under the Disk # (0,1,2…) you will either find the Online or Read-Only status. If it’s the latter, you can head over to the next step.
3. In the Windows search bar, type CMD
4. From the right-hand pane, click on Run as administrator
5. When the Command Prompt opens, type diskpart

6. Next type list disk and press Enter
7. Select disk which has the read-only parameter on it. E.g. if it is disk 1 then the command should be select disk 1 (press enter)
8. Next, type attributes disk clear read-only(press enter)
The read-only parameter should have been removed by now.
4. Check If The Issue Is Caused Because Of Your Antivirus
Is your drive or folder showing you read-only error as soon as you restart your computer? It could be because your third-party antivirus is detecting the folder as a threat and stopping you from accessing it. In that case, you can do one of the following things –
1. White list the folder in your antivirus if it hasn’t been yet
2. Reinstall your antivirus
3. If problem still persists and you are sure that the file is genuine look for an alternate solution
If you are looking for an alternative solution, you can choose Systweak Antivirus which is touted as one of the best antivirus for Windows PC. Here are some of the core features of Systweak Antivirus –
Systweak Antivirus – Features At Glance
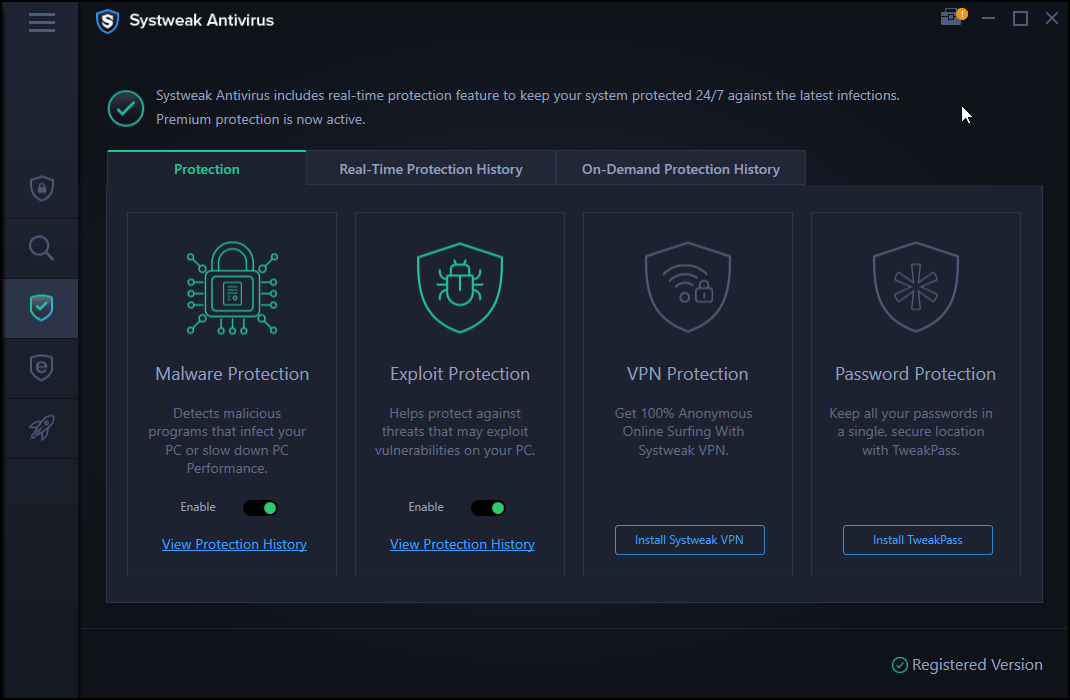
- Quick, deep and custom scans to catch hold of every bad file
- Real-time protection from all kinds of cyber threats
- Systweak Antivirus is updated with latest virus definitions
- Exploit protection scans every file and prevents PUPs from intruding your PC
- Small file size
Click Here To Download Systweak Antivirus

Read Full Review of Systweak Antivirus
Price – Starts from US$ 39.95 per year
5. Remove Read-only Using The Registry Editor
We’d highly advise you to take a backup of all your registries before you perform the steps mentioned here. A backup will be useful if anything goes wrong. Let’s say you inserted a flash drive on your computer and found that the USB Drive was read-only. You checked the read-only switch, but there was none. And, you have to have access to the data fast. You can either take the help of one of the methods mentioned above or take the route of Registry Editor to remove write protection from the Windows USB Drive -.
1. Press Windows + R key to open the Run dialogue box
2. Type Regedit to open the Registry Editor
3. Navigate to the following path
Computer\HKEY_LOCAL_MACHINE\SYSTEM\CurrentControlSet\Control\StorageDevicePolicies
4. Double-click on WriteProtect and change the value from 1 to 0
5. Close Regedit and restart your PC
You can recheck if your Windows 10 USB drive is read-only or not.
6. Remove “Read-only” with Third-party Write Protection Remover Software
If you’re not familiar with command lines and executing manual methods seems like a cumbersome task, we advise you to take the help of a dedicated “Write-protection remover software” that will help you clear Read-only permissions from your hard drive, USB drive, and even memory card. We recommend using EaseUS CleanGenuis for this purpose. While it is a specialized software that helps to clean and optimize Windows PCs to improve overall performance, it also comes with a dedicated module to disable Write Protection permissions.
So, let’s learn how it works to conveniently remove “Read-only” permission:
STEP 1 = Install the latest version of EaseUS CleanGenius on your Windows 11/10 PC.
STEP 2 = Launch the free Windows software, navigate to the Optimization module from the left toolbar and head towards the “Write Protection” mode.

STEP 3 = At this point, you have to select the write-protected device and click on the “Disable” button, located at the top right corner of the screen to remove the protection.

This method is suitable for novice users who are not familiar with the command line and the operating system as a whole. Hopefully, it helps to resolve the “read-only” problem quickly!
Also Read: How Safe Is A Reg File and How To Deal With It?
BONUS TIP = How to remove the ‘This Drive Is Read-Only’ error on an SD card or USB flash drive:
|
Frequently Asked Questions
Wrapping Up
You can bookmark this page and come back to it if ever you have to deal with an issue when your drive is in a read-only state. You can also mention it in the comments section below if the above methods helped you fix the issue. That said, for more such content keep reading Tweak Library. If you like tech videos more, you can subscribe to our YouTube channel.
Related Topics
Quick Reaction:
4 replies on “6 Easy Ways to Fix a Read-Only Drive in Windows 11/10 PC”


Dave
Brilliant. Disk Drill locked my drive to Read Only and unable to make writable through Disk Drill. This worked great. Thank you loads. Dave
Tweak Library Team
Thank you