
Dropbox is a popular cloud storage medium and many of us use it to backup files, upload files, and work with other people. Now, there are times when glitches might hit you up and one such glitch is when duplicate files start to surface in Dropbox. The reasons for this can be many. It could be that you keep two copies of your files so that just in case you mistakenly delete one file, you will at least have a backup. But, this approach may soon max out your Dropbox storage space, and eventually, you may have to get rid of a few duplicates.
How to Find and Remove Duplicate Files on Dropbox:
Things sometimes get out of hand when two similar files are not the exact copies but they might be different versions. How can you then delete duplicate files on Dropbox?
Avoid Uploading Same Folders and Files From Other Devices
Oftentimes, it happens that we download certain files from our MacBook and then upload the same via our smartphones or other devices. Here, the best bet to remove Dropbox duplicate files is to be mindful of the files you have already uploaded using one device. Also, you can remove those items from the backup folder that you may already have uploaded.
Use The Finder To Filter Out Duplicate Files
Getting track of Dropbox duplicate files becomes all the more difficult when there are the same files with different names or when there are two same files stored in two different folders. In that scenario, you can take the help of the Finder and track and remove Dropbox duplicate files –
1. Open Finder and then click on Dropbox from the left-hand side
2. Click on the List View button
3. Click on the Kind tab to group files by type

4. Select files and then press the spacebar after which you will be able to view them in Quicklook
These steps will make it easier for you to identify duplicate files in Dropbox. Once identified, you can select those files and then drag them to the Trash.
Bring A Dedicated Utility Into Action
The manual ways of getting rid of Dropbox duplicate files may result in mistakes and you may accidentally end up deleting the right files. This is why you should first backup your files. You can also take the help of a third-party application that can help you remove duplicate files on Dropbox.
Let’s take the example of Duplicate Files Fixer. It helps get rid of identical and similar-looking duplicate files with utmost ease. The best part about Duplicate Files Fixer is that it lets you take a backup of files before you delete them permanently. It helps detect a wide range of files such as documents, audio files, images, videos, and many others.
Here’s how you can use Duplicate Files Fixer to detect duplicate files in Dropbox.
1. Download and install Duplicate Files Fixer on Mac.
Click Here to Download Duplicate Files Fixer

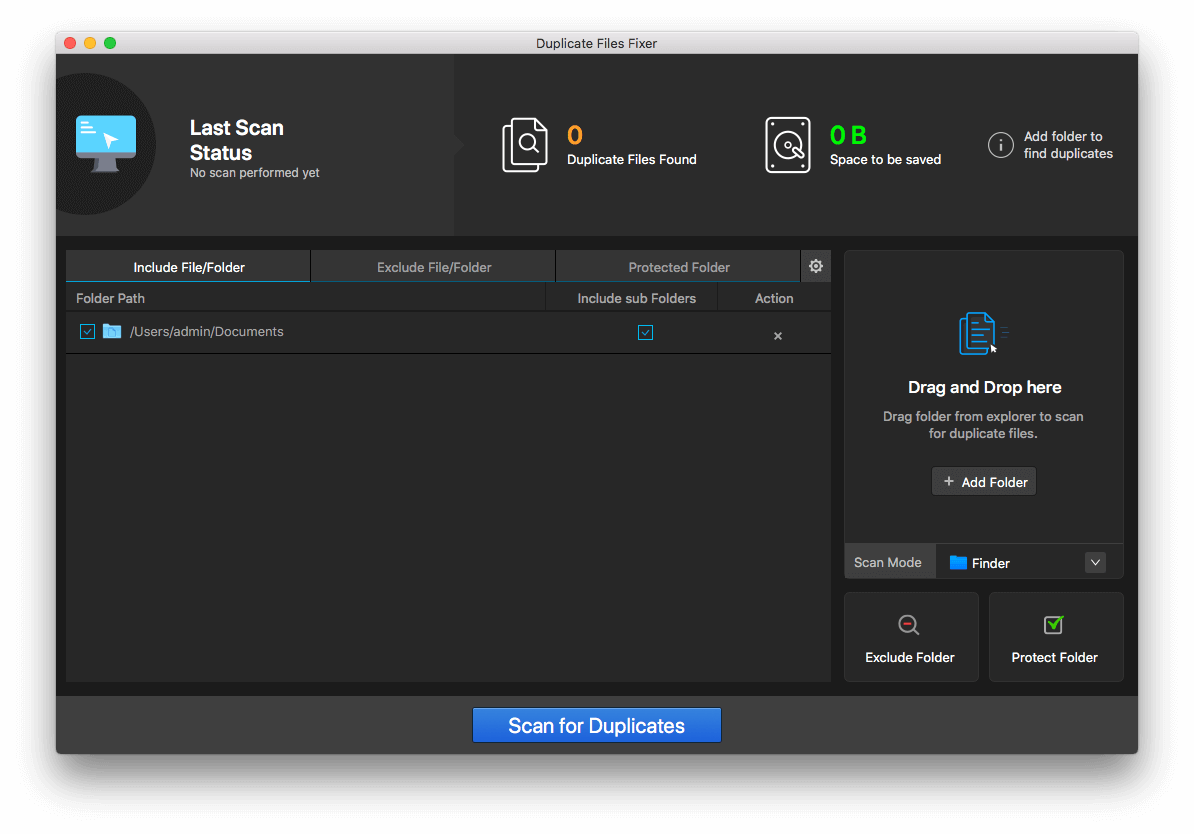
2. Drag and drop the Dropbox folder from the left-hand side onto Duplicate Files Fixer
3. Click on the Scan Now button
4. Once you have been presented with a list of duplicates, you can even use the Auto-Mark functionality after which the utility will smartly detect the duplicates for you.
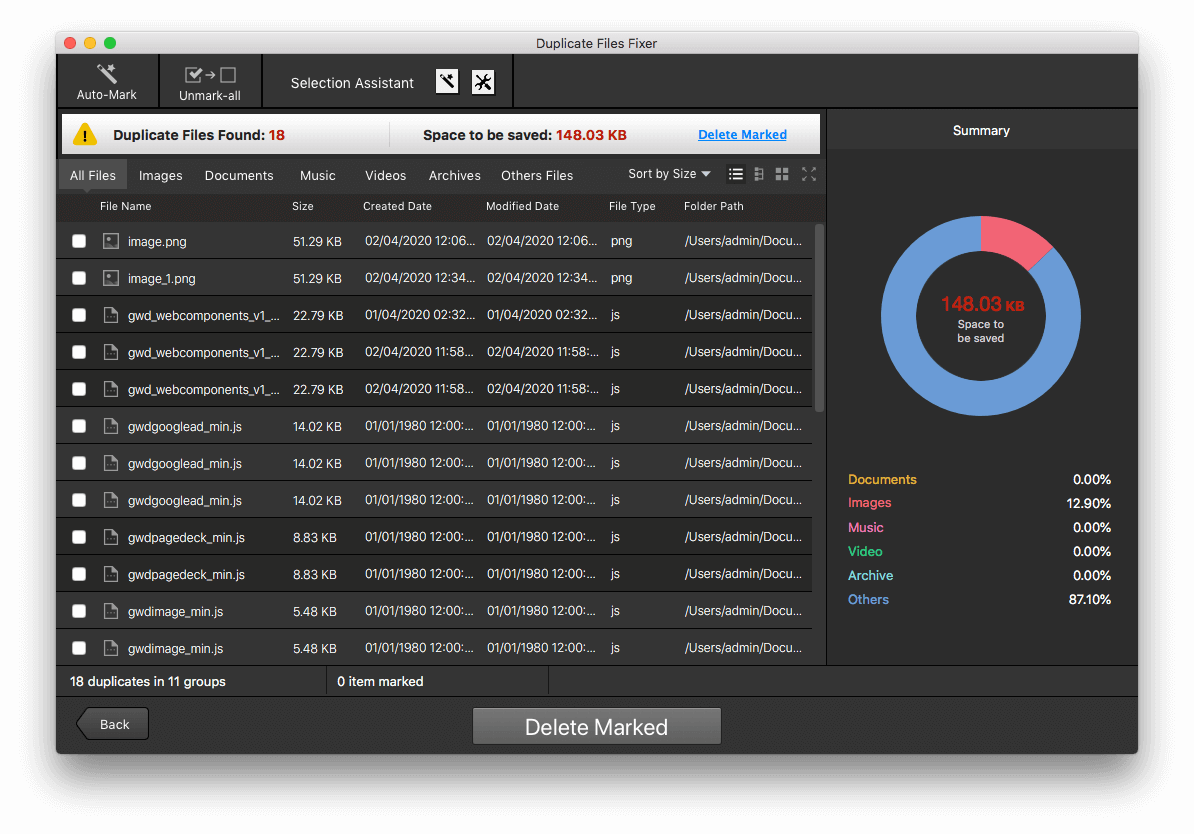
5. Once you are sure of duplicates, you can click on the Move To Trash button
Sync Files Properly Using Selective Sync
Properly syncing files on Dropbox across multiple devices can help get rid of Dropbox duplicate files. This can come in handy when Dropbox is syncing files improperly. It is quite possible to auto-sync all those folders that you frequently use on your Mac –
While standard syncing will sync every folder and file, the Selective Sync option lets you select the files and folders that you want to sync to Dropbox. For that –
1. Right-click on the Dropbox icon
2. Select Settings and then Preferences
3. Head to the Account tab
4. Go to Selective Sync and then click on Change Settings
5. Select folders that you want to sync
6. Click on Update
Use The Terminal To Sync Files
Since we are talking about syncing files to get rid of Dropbox duplicate files, you can even use the terminal and get rid of them.
1. Open Terminal by searching for it in the spotlight and then press Enter or by going to Application > Utilities > Terminal

2. Type ln –s and hit the space button (remember not to press the enter key)
3. Launch Finder
4. Locate a folder that you want to sync with the Dropbox folder
5. Drag and drop the folder into Terminal
6. Launch Finder once again
7. Locate Dropbox folder and drag and drop this folder in the Terminal
8. Press Enter
This way the files that have been saved to the folder will be automatically synced to your Dropbox account.
Wrapping Up
In an event when the duplicate files are not exact duplicates, Dropbox will upload such files, which is when you may require a specialist tool like Duplicate Files Fixer that will help you get rid of Dropbox Duplicate Files in no time at all. If you liked what you read, do give it a thumbs up. For more such updates, keep reading Tweak Library.


Leave a Reply