25 Oct How to Build a Chatbot: A 23-Step Guide
Posted at 15:55h
in Social Media Strategy
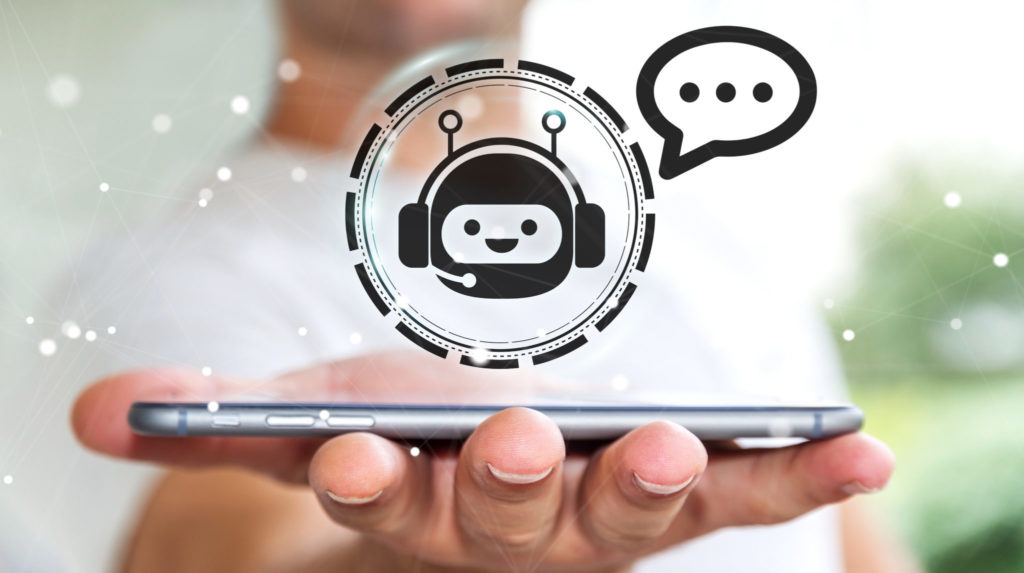
Chatbots are valuable tools for brands. They can supplement customer support efforts, capture qualified leads, or broadcast messages to users – just to name a few applications. Here at Ignite, we’ve done extensive research on the artificial intelligence service, analyzed the best in the biz, and even launched a chatbot of our own. Now, we’re giving you a step-by-step guide on how to build a chatbot of your own.
- Define your audience – Before you dive in to building, ask yourself a few questions. Who will your chatbot benefit? How will they interact with it, and what do they want from it? These and other audience-focused questions will keep you on track to ensure your product meets business objectives.
- Identify your goals – Speaking of business objectives, make sure you’ve defined how your chatbot will ladder up to achieving certain business and marketing goals.
- Research different providers – There are a TON of chatbot providers on the market that are better for certain objectives than others – trust us, we evaluated most and rated some of the top ones. Once you know the purpose you want your chatbot to serve, narrowing down potential providers will become a lot easier.
- Choose your provider – Once you’ve done your research, it will be helpful for your team to demo a couple of the platforms that seem best-fit for your needs. From there, you can perform a cost-benefit analysis to make an informed decision on which program is right for your brand.
- Choose how you will build it – Some providers give you the option to offload the building process to their team. This can be beneficial if you don’t have the time or resources to build from scratch. On the flipside though, we found it was beneficial for our team to build our chatbot from the ground up. These following steps will give you a better understanding of what that process looks like.
- Begin drafting your decision tree – A decision tree will serve as the skeleton of all your user flows (conversations), and it will help you to anticipate potential queries. Excel is a great program to map this out, or you can download an online template.
- Identify key landing pages – In your decision tree, you’ll want to make sure you are programming conversations to eventually lead users to key pages on your website. Identifying these landing pages first will ensure your bot’s flows all have an end goal.
- Outline conversation themes – Before beginning a free-flow conversation within your chatbot, it can be helpful for users to have a few unique topics to choose from such as “About Us”, “Services”, or other themes that mimic those of your website’s pillar pages. These options can come to life in the form of buttons, carousels, and other message formats that drive users to specific pages or initiate certain conversations within your chatbot.
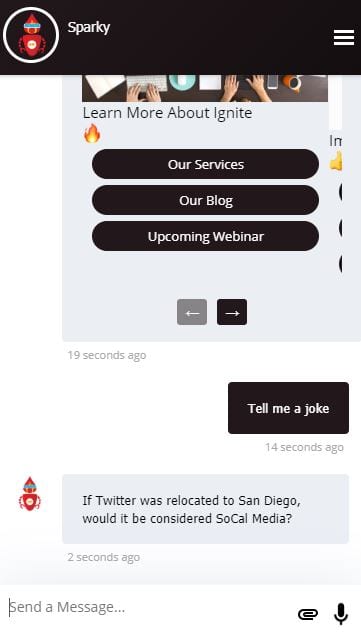
- Develop your chatbot’s tone and voice – Feel free to get creative here and really let your brand’s personality shine. As you’re developing all the conversation flows within your decision tree, don’t be afraid to include images, emojis, or other copy elements that will lend themselves to who you are as a brand.
- Connect the dots – Now that your bot has a personality and you’ve identified where you want to direct users at the end of each flow, it’s time to think through the conversation that will happen between those two points. In this step, consider what sequence of messages will feel most natural to users.
- Draft your bot’s messages – Now it’s time actually write out each message that your chatbot will send to users. In this step, it’s important to think through a conversation from the user’s perspective, anticipating potential words, phrases, and other user inputs. You can also research some of the top chatbot questions to make sure you have flows set up for those, too.
- Review your decision tree – With your conversation flows created, take some time to look through them. Check for grammar or spelling errors, and make sure they do, in fact, flow.
- Have someone else review your decision tree – When you’re in the trenches on a project like this, it’s helpful to get fresh eyes on it to identify any errors you may have missed.
- Work out the kinks – Your decision tree will always be a work in progress. As you gather feedback and get a better feel for what potential user queries may look like, you’ll be able to finesse your decision further.
- Input your decision tree into your chatbot – Once you’ve wrapped up your decision tree, you can begin to plug those conversation flows into your chatbot program. This can come to life in various ways, depending on which chatbot provider you use and what their program requires. Most likely, you will create your individual messages first, and then you will set up the “stories” or conversations containing keywords that will trigger those messages.
- Make it visual – Along the same lines of developing a tone and voice for your chatbot, you should also include visuals in messages to further contribute to your bot’s personality.
- Set up default messaging – Your decision tree should do most of the heavy lifting when users are conversing with your bot, but there are sure to be a few queries that come from users that your bot is not programmed to understand. Because of this, it will be necessary for you to create default messages to respond to users with when they send such queries.
- Optimize those default messages – Taking it one step further, try to include specific cues or call-to-actions in your default messages for users to type in a new query that your bot will recognize. This will help with keeping the conversation going, and it provides a potential solution to users if your bot does not understand them. For example, if a user sends a query that your bot does not understand, one of your programmed default messages may be “I’m sorry – I didn’t catch that. Type ‘help’ to get in touch with an expert.”
- Create page messages – Pages messages are a nifty tool that allow you to create a pop-up from your chatbot. When a user lands on a specific page URL, you can program your bot to send a subtle-yet-noticeable message notification. This is a great, non-invasive way to attract users to your chatbot.
- Test your bot – Once all of your chatbot elements are in place, you’ll want to give it a few test runs to see what your bot looks like in action. You should also have a few people across different discipline teams test and provide feedback.
- Launch your bot – The legwork is done, and now it’s time for the most exciting part of this process: launching your chatbot! Congratulate yourself and your team on the hard work that went into creating this piece of AI for your brand.
- Continuously teach your bot – Soon after launch, user messages will start rolling in. It’s essential to keep an eye on these messages to see what the most common queries are and what adjustments need to be made. If your bot didn’t understand some keywords, re-work your message flows to teach your bot to understand more sophisticated conversation. This step will be ongoing as you manage your bot, and it will help ensure that your user experience continues to improve.
You now have all the tools you need to begin your chatbot development process. If you need support along the way though, we’re here to help.